This Avengers Teacher Shirt with Free Cut File is perfect for every teacher!

Through the last week of school, my husband has made it tradition to wear some funny custom shirts to end the year with a bang, like the Hogwarts Muggle Teacher shirt and the Teacher Mode: Off shirt. It's no secret that my husband loves anything superhero. He even has a superhero themed classroom! After watching Avengers: Endgame, he helped me put this Avengers-themed shirt design together for him to wear as a badge of honor throughout the summer. I've included the cut file here to share with you so you can make one for all of the teachers in your life, too!
To make your own Avengers Teacher shirt, you'll need these supplies:
- Blank T-Shirt
- Avengers Teacher Cut File (personal use only - commercial use available)
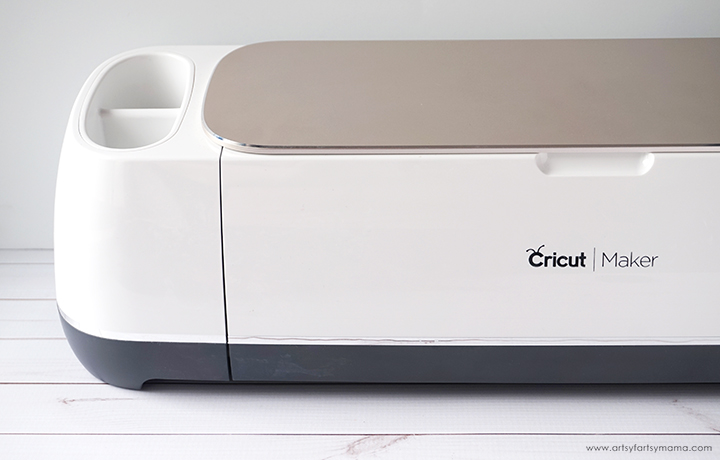
- Cricut Maker or Cricut Explore Air 2 machine
- HTV or Glitter HTV
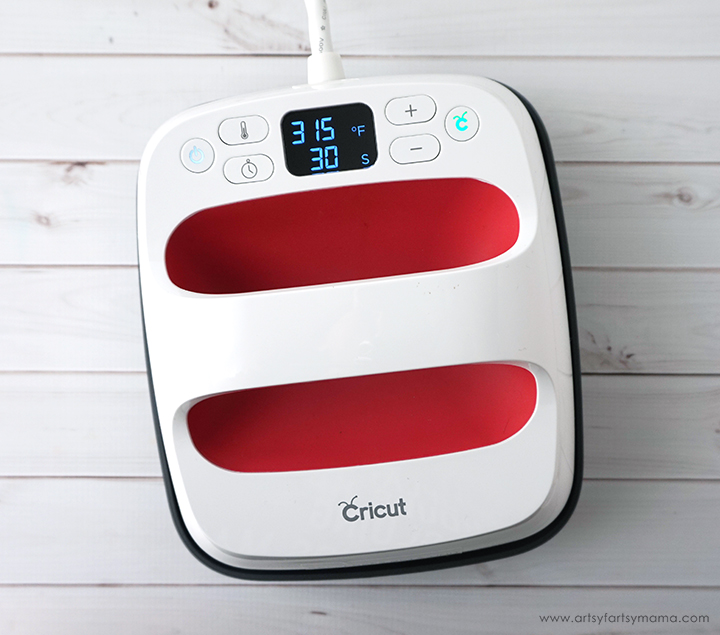
- EasyPress 2
- EasyPress Mat
- Iron-On Protective Sheet
- Weeding Tools

Upload the "Avengers Teacher" cut file into Design Space and size the image to fit your shirt. Make sure to mirror your image before cutting the iron-on vinyl! Otherwise, your design will be backwards when you put it on the shirt. To do this, select a mat thumbnail in Design Space before cutting, and click the "Mirror" toggle to reverse the image.
For this shirt, I used different kinds of vinyl: white HTV for the words, Glitter HTV in green, red, yellow, orange, purple, and blue for the Infinity Stones, and gold Metallic/Foil HTV for the Infinity Gauntlet. Place the vinyl face-down on the mat, and load it into the machine. Change the material settings to the type of vinyl you are cutting, and then click the "Go" button to cut the vinyl.
For this shirt, I used different kinds of vinyl: white HTV for the words, Glitter HTV in green, red, yellow, orange, purple, and blue for the Infinity Stones, and gold Metallic/Foil HTV for the Infinity Gauntlet. Place the vinyl face-down on the mat, and load it into the machine. Change the material settings to the type of vinyl you are cutting, and then click the "Go" button to cut the vinyl.
*Here's a great tutorial on how to upload your own images into Cricut Design Space.
"Weed" the excess vinyl by removing all of the parts that don't belong in the design. I usually peel away the outer edges starting at the corner and working my way around the design. Then I use weeding tools to remove the smaller pieces of the design.

Plug in the EasyPress 2 and power it on. Each kind of HTV has a different heat and time setting, so be sure to check the recommended EasyPress settings before getting started. Adjust the heat and time setting to your shirt and vinyl specifications. Once the light turns green and the machine beeps, it's ready to use.
When the EasyPress is up to temperature, place your shirt on the EasyPress Mat and preheat the area for 5-10 seconds. Lay the HTV down on the shirt, with the clear carrier sheet facing up. Set the EasyPress over the vinyl and press the green "C" button. Hold firmly in place while the timer counts down. Turn the shirt over and press the EasyPress firmly again for 15 seconds.
Peel off the carrier sheet while the vinyl is still warm. If you are layering vinyl, repeat the process for each of the different colors of vinyl, but be sure to protect the vinyl that is already on the shirt with an Iron-On Protective Sheet.

My husband is so excited to wear this shirt on the last day of school, and his co-workers have been asking if they could get one to wear throughout summer break! You could use this design to make a unique and fun end-of-year teacher gift.
Don't forget to Pin, Like, and Share!

Have you seen Avengers: Endgame yet?


So cute! Is it possible to change the word teacher to librarian from the svg file? If not, what's the name of the font you used so that I could change it? Thank you for sharing this cute svg file.
ReplyDelete