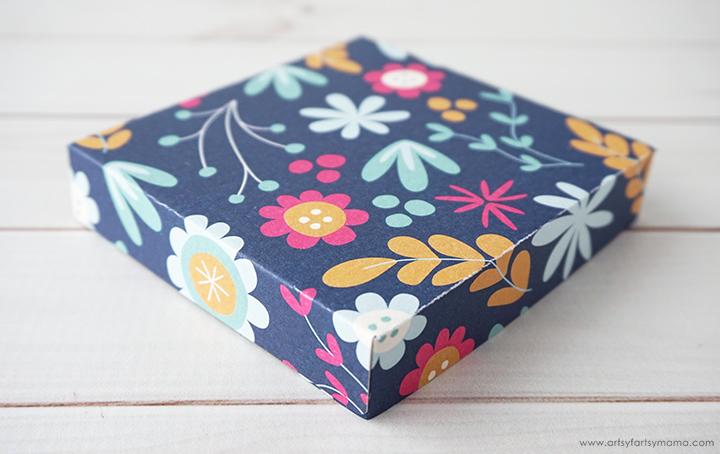
Wrap your special Mother's Day gift in a handmade Flower-Topped Gift Box!

To make your own DIY Flower-Topped Gift Box, you'll need these supplies:
- Cricut Maker or Cricut Explore machine
- Scoring Wheel or Scoring Stylus
- DIY Flower-Topped Gift Box Design Space Project
- Cardstock - white and pink
- Double-Sided Floral Paper
- Corrugated Cardboard - yellow
- Cricut Pen - Pink
- Glue Dots or Glue
- Quilling Tool

Open the Flower-Topped Gift Box project in Design Space. If you want to make it exactly how it is shown here in the tutorial, you can click "Make It" to take you directly to the cutting process. If you'd like to make adjustments, you need to click "Customize". Once in the canvas, you can easily make edits to colors and image sizes.
Along with your regular Fine Point Blade, you'll also need a tool to score the paper. You can use either the Scoring Wheel or Scoring Stylus with the Cricut Maker. The stylus works for average score lines, where the scoring wheel will give you extra-deep score lines that make the paper easier to fold.

Fold the box top piece along the score lines. Add a glue dot or a bit of glue to the short corner tabs and press them on the inside of each of the side tabs. Can you believe that's it?!

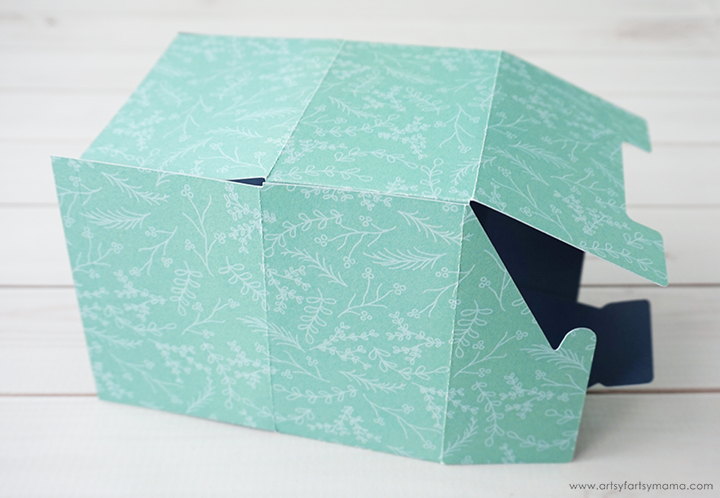
The bottom of the box has a few more steps than the top, but don't worry - it's actually easy to assemble! Add a couple of glue dots or a bit of glue to the tab on the left side of one of the box pieces, and attach it to the right side of the other box piece. Add some adhesive to the other tab (on the left), and bring the end around to start to form the box.

Fold the top sections of the box down inside the box to get an idea of how they fit. Lift the flaps back up, add some adhesive to the back, then fold them down and press. This gives the inside of the box some color, as well as making the box a little more sturdy.

Fit the top onto the box and make sure it fits well. Since the Cricut cut it out it should fit perfectly, but it's always a good idea to make sure everything fits together and make any adjustments if needed.

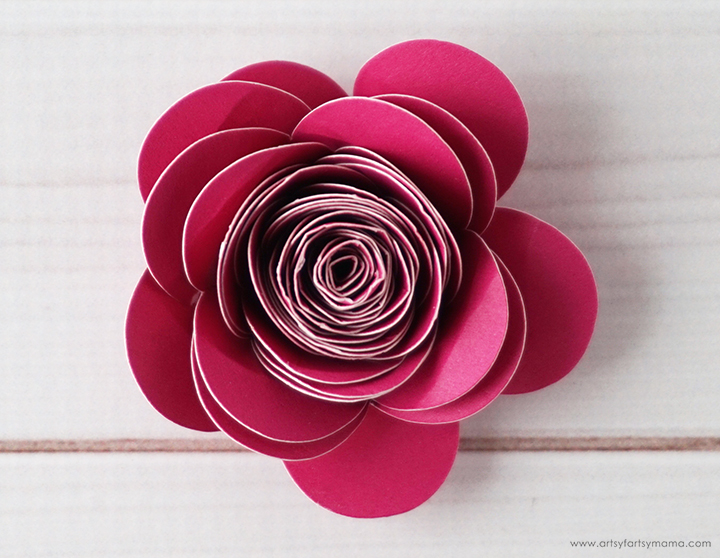
Now that the box is assembled, it's time to make the flower to add to the top of the box (hence, the name of this project). Making paper flowers is easier than you'd think! You can roll the flower up by hand, but I definitely recommend using a quilling tool. It saves you so much time and pain.
Place the end of the flower into the quilling tool, and start rolling. It really is as easy as that. When you get to the end, add some glue (even hot glue) to the circle. Bend the circle up to the bottom of the flower and hold in place until the glue has set.

Now you can bend some of the outer petals out and adjust the flower to make it look a little more "flowery".

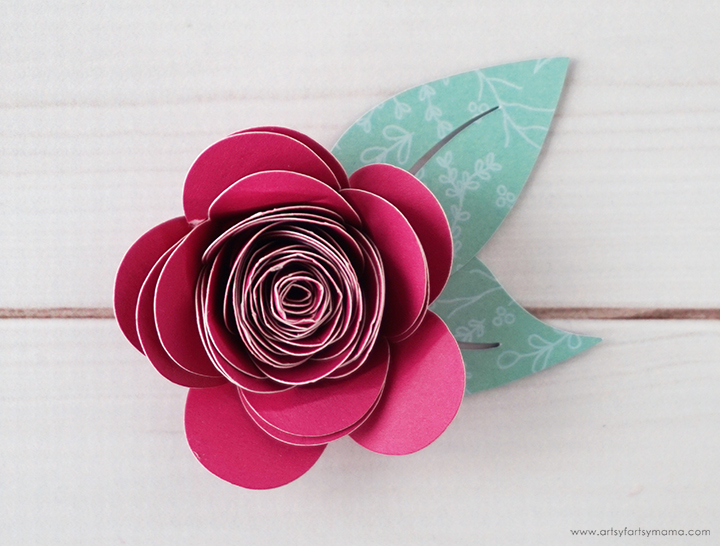
Add some glue dots/glue to the bottom of the flower, then place the leaf pieces underneath in any position you like.

For a pop of color, texture, and a creative way to keep the box closed, wrap the piece of corrugated cardboard around the box and secure the ends with glue dots/glue.

Now, you can finally top the gift box with the paper flower! Again, just attach with a little bit of glue dots/glue.


Last, but not least, attach the tag to the gift box under the flower. I liked how it looked peeking out between the leaves.
These gift boxes are a lot of fun to make, and are perfect for Mother's Day, birthdays, weddings, or just because! Now to find the perfect gift for my mom for Mother's Day to put into this box.... any suggestions?!


Beautiful gift box! The presentation is amazing and makes it more exciting to open the gift.
ReplyDeleteThis is adorable Lindsay! I'm including it in a DIY Cricut Mother's Day gift roundup. Hope to send you lots of clicks!
ReplyDeleteNiki | Life as a LEO Wife