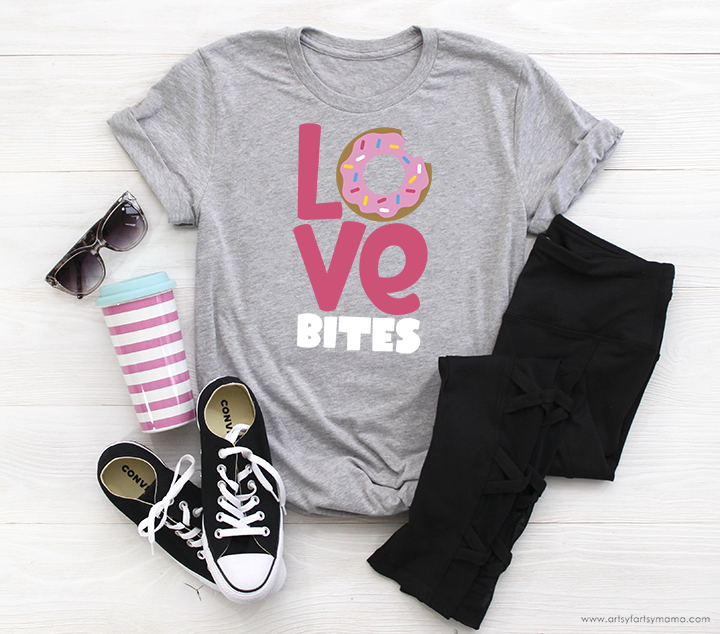
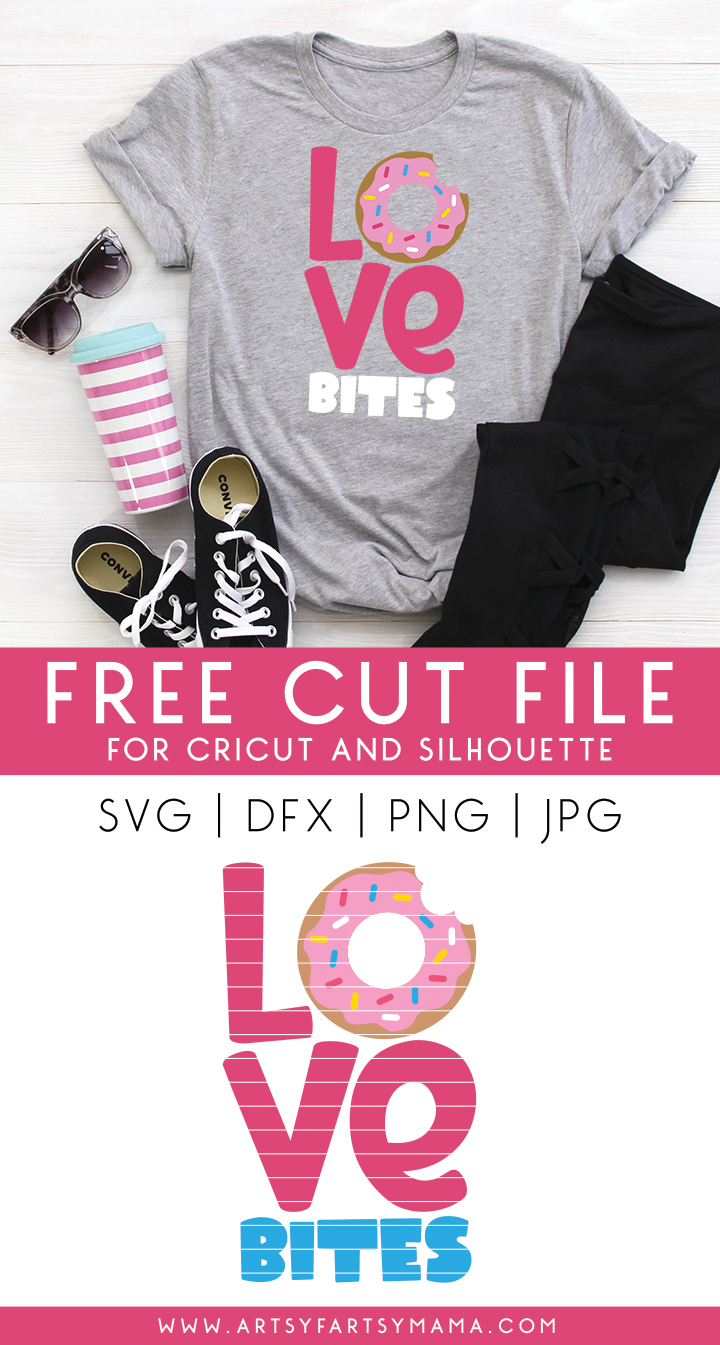
This "Love Bites" shirt (with Free Cut File) is is a sweet and funny shirt you can wear this Valentine's Day!
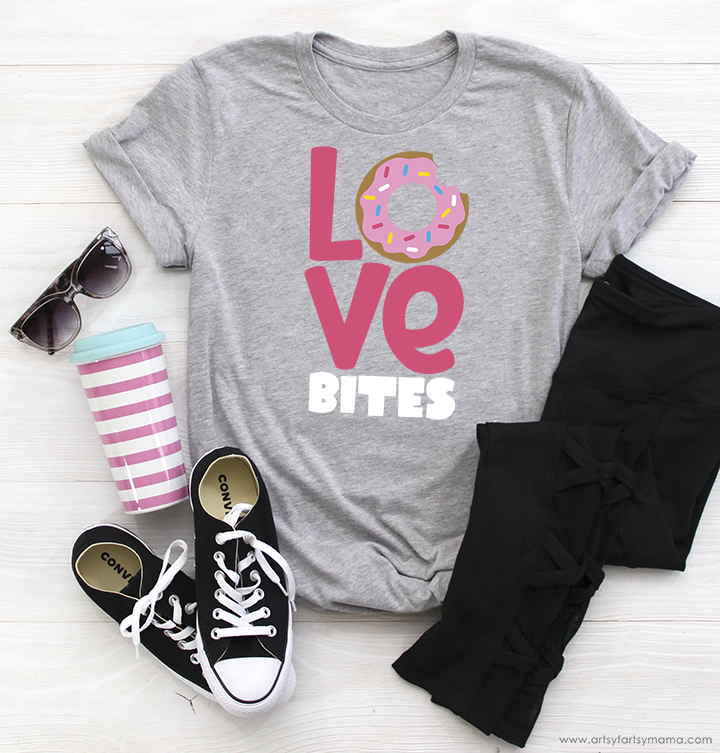
Valentine's Day is coming soon, and I was wanting to make myself a funny Valentine's Day shirt to wear. While most couples are looking to shower each other with sappy love notes, roses, and chocolates, my husband and I enjoy a quiet evening binge watching Netflix and splitting a box of sprinkled donuts! This shirt is perfect for kids who think love is icky, for singles who think love itself just bites, or for people like me who see a donut and it's literally love at first bite.
This month I have teamed up with some of my favorite bloggers to create a collection of 15 FREE Valentine-themed SVGs that you can cut with your Cricut or other cutting machines! Visit the links at the end of the post to download them all.
To make your own "Love Bites" Valentine's Day shirt, you'll need these supplies:
- Blank T-Shirt
- Cricut Maker or Explore Air 2 machine
- "Love Bites" Cut File (For personal use only)
- HTV/Iron-On Vinyl - I used white, tan, bubblegum, pink, lemon yellow, sky blue
- EasyPress 2
- EasyPress Mat
- Weeding Tools
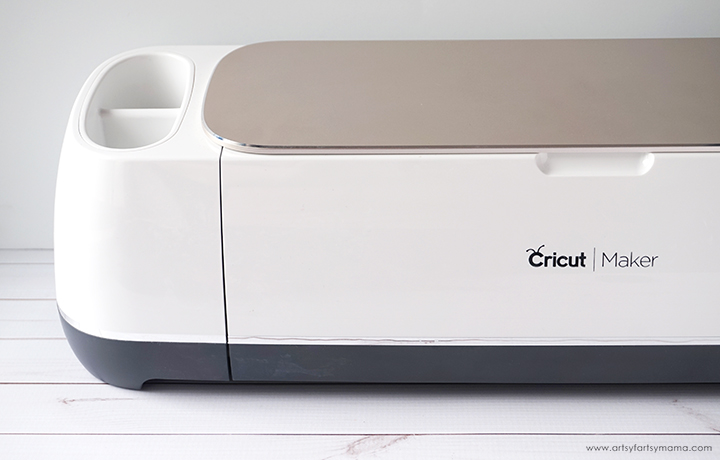
Upload the "Love Bites" cut file into Design Space and size the image to fit your shirt. When cutting your iron-on vinyl, make sure to mirror your image! If you don't, your design will be backwards when you put it on your shirt. To do this, click on each mat thumbnail in Design Space before cutting, and click the "Mirror" toggle to reverse the image. Place the vinyl face-down on the mat, load it into the machine and click the button to cut the vinyl.
*Here's a great tutorial on how to upload your own images into Cricut Design Space.
"Weed" the excess vinyl by removing all of the parts that don't belong in the design. I usually peel away the outer edges starting at the corner and working my way around the design. Then I use weeding tools to remove the smaller pieces of the design.
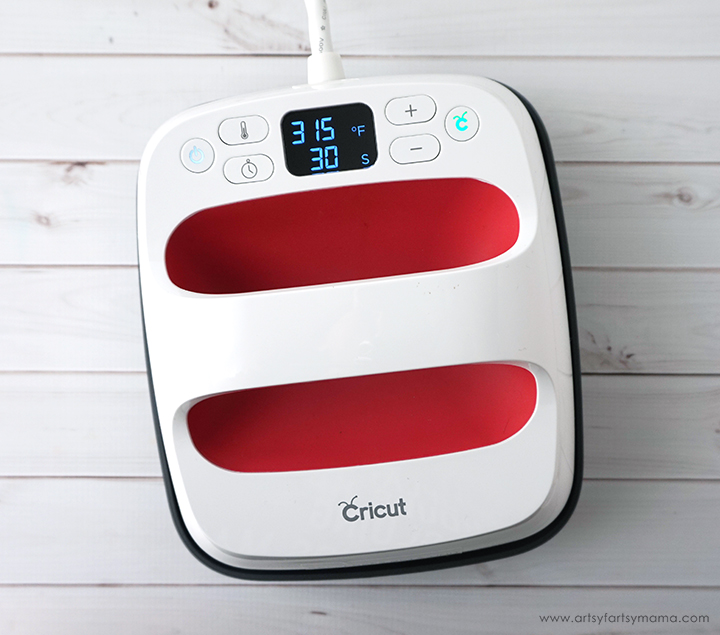
Plug in the EasyPress 2 and power it on. Each kind of HTV has a different heat and time setting, so be sure to check the recommended EasyPress settings before getting started. Adjust the heat and time setting to your shirt and vinyl specifications. Once the light turns green and the machine beeps, it's ready to use.
Once the EasyPress is up to temperature, place your shirt on the EasyPress Mat and preheat the area for 5-10 seconds. Lay the HTV down on center of the shirt, with the clear carrier sheet facing up. Set the EasyPress over the vinyl and press the green "C" button. Hold firmly in place while the timer counts down. Turn the shirt over and press the EasyPress firmly again for 15 seconds. Peel off the carrier sheet while the vinyl is still warm.
If you use different vinyls like I did, it's important to protect the vinyl that's already been pressed. Place the other cuts of vinyl onto the shirt, and cover with the Iron-On Protective Sheet. Press the vinyl into place with the EasyPress 2 the same way and remove the carrier sheets while the vinyl is still warm.
Don't miss out on this Donut Cut File Bundle in the shop!

Pin this image to save for later:
As promised, here are all of the links to get yourself these 15 FREE Valentine cut files made by other talented bloggers so that you can make your own holiday shirts, signs, mugs, and more!

- Love is a Puzzle- Pattern Revolution
- You’re My Lobster- The Simply Crafted Life
- Love You More- Pineapple Paper Co.
- Galentine's Day- Hey Let’s Make Stuff
- Fancy Heart- 100 Directions
- XOXO Y’all- Everyday Party Magazine
- Heartbreaker- Happiness is Homemade
- If You Think Our Hands Are Full You Should See Our Hearts- The Country Chic Cottage
- Be Mine? Thought Bubble- Hello Creative Family
- Chocolate is My Valentine- That’s What Che Said
- Love Bug- See Lindsay
- I Love You a Sloth- Brooklyn Berry Designs
- Cupid's Wingman- Happy Go Lucky
- Love Grows Here- Kingston Crafts
- Love Bites- Artsy-Fartsy Mama
Did you miss our past collections? Grab all of the Totally Free SVG Cut Files here!
How do you celebrate Valentine's Day?


Where do you get your t-shirts for these projects?
ReplyDeletewhen i get to the end of the link and click on the love bites link it takes me back to the top of this same page .. how can i download it ?
ReplyDeleteAt the top of the page is a supply list. Click on the "Love Bites" Cut file.
Deletecan't get it to open. ideas
ReplyDeleteI cant access the free Love Bites file
ReplyDeleteI cannot find a link to download this cut design.
ReplyDeleteI want to download the Love Bites svg, but the link sends me back to the beginning to the page. How can I download the file? Thanks!
ReplyDeleteClick the link on the supplies you'll need section
Deletesame as everyone else, cannot access the file as stated.
ReplyDeleteSorry you are having trouble. The link to the cut file is located in the list of supplies.
Delete