Make your next party extra special with a custom DIY Donut Piñata made using the Cricut Maker!

To make your own DIY Donut Piñata, you'll need these supplies:
- Cricut Maker or Cricut Explore machine
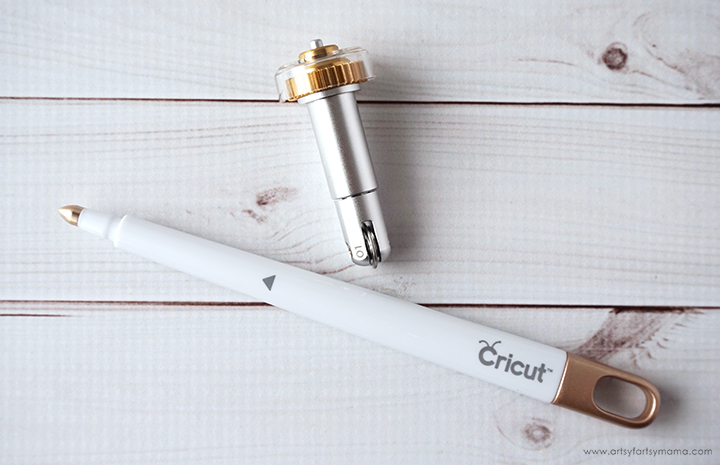
- Scoring Wheel or Scoring Stylus
- Donut Piñata Design Space Project
- Kraft Board
- Cardstock or Glitter Cardstock
- Cricut Party Foil - gold
- Scissors
- Craft Glue
- Tape

First, open up the Donut Piñata Project in Design Space. If you want to make it exactly how it is shown here in the tutorial, you can click "Make It" to take you directly to the cutting process. If you'd like to make adjustments, you need to click "Customize". Once in the canvas, you can easily make edits to colors and image sizes.


I cut all of the base pieces of the piñata out of Kraft Board. This material is thicker than cardstock, but you can still cut, score, and write on it without creating cracks or tears - which is perfect for this project! You'll need to have two circle "donut" pieces, and four side pieces cut out of this material.

The sides of the piñata have score lines and small cuts down both of the long edges. Carefully fold all of the tabs in on all of the pieces. These tabs are going to help you attach these pieces to the front and back piñata circles.

The kraft board is thick, but it is still flexible so that you can shape it into a circle. Tape three of the side pieces together at the ends. Add a small amount of glue around the edge of the donut. With the tabs folded in toward the center of the donut, place the side piece down and press the tabs down on the glue, and slowly work your way around. I left a 3-inch (or so) gap opening at the top of the donut to fill the piñata later. If the piñata is for decor only, you can close this up.
For the center of the donut, take the last side piece and form it into a circle with the tabs facing out. Add some glue around the center edge of the donut and place the tabs down on top. Hold the tabs down in place until the glue has set.
For extra strength, you can add some tape around the edges of the donut where the front and side pieces meet.


Lastly, work your way around the outer edge of the donut and attach the tabs to the back piece. If you move too quickly, some of the tabs may pop off. Be sure to hold everything in place until the glue has set.

Like I mentioned before, I left an opening about 3 inches wide. This is how you can add candy or party favors into the piñata if you'd like. Once it's been filled, you can close it up with a scrap piece of kraft board.

Now that the hardest part is done, it's time to turn this kraft paper circle into a donut piñata fit for a fiesta! Instead of the traditional crepe paper fringe, I wanted to add some shimmer and sparkle with holographic Cricut Party Foil. To save myself some hand pain, I set up the project to cut out the strips already cut into fringe!

Start by gluing a strip of the Party Foil to the front of the donut at the bottom. Work your way up the donut, lining the fringe right above the one below it. I tried to make sure to align the fringe line with the top of the piece below it. The bottom piece will have kraft board showing through, so I simply glued scraps right underneath. Trim the edges of the fringe to fit the donut.
On the back, you can cut another donut piece out of the foil, or you can glue fringe on like the front.
To cover the sides and center of the donut, I cut pieces of foil with 5 fringe lines and 6 fringe lines. Start at the opening of the piñata and alternate 6 fringe and 5 fringe all the way down to the bottom, then repeat for the other side. Do the same for the center, but just go all the way around.

What's a donut without icing? (Sad. It's sad.) Because the holographic foil has a lot of shimmer, I decided to add contrast by cutting the icing out of bright pink cardstock. I brought back some of that shine with multi-colored sprinkles cut out of glitter cardstock.


Glue the icing with sprinkles to the front of the piñata. If your party guests are going to beat the daylights out of it, you'll need to attach a string to the top of the piñata. However, if you are using this for decoration, then the piñata is complete and ready for display!
I hope you have a ton of fun creating this piñata as a perfect centerpiece on your party tablescape, or as a fun activity for the kids!
Pin this image to save for later:


LOVE this idea--it's the cutest! Thanks for sharing at Vintage Charm--pinned!
ReplyDeleteSo very creative! I don't have any party plans just yet but I pinned this for a creative idea when I do. Thanks so much for sharing this week. #HomeMattersParty
ReplyDeleteThis is so cute! Thanks for the tutorial and sharing at my party last week. Featuring this week when it opens!
ReplyDelete