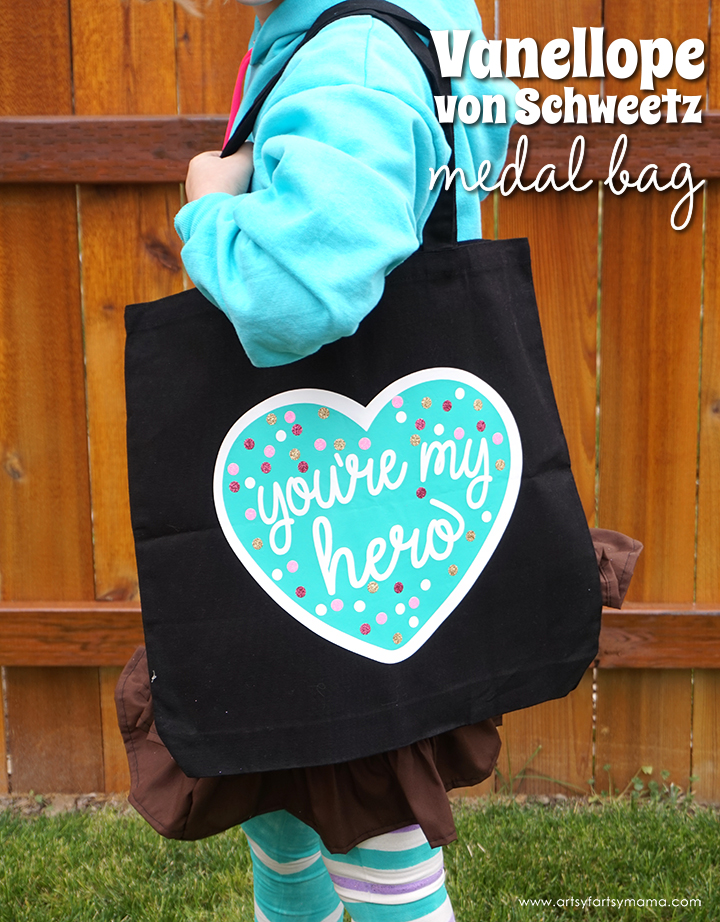
Make a DIY Vanellope (Wreck-It Ralph) Medal Bag (with FREE cut file) to take trick or treating this Halloween!

This Halloween, my daughter is going as one of her favorite characters, Vanellope von Schweetz, from Wreck-It Ralph. We absolutely love that movie and can't wait for Wreck-It Ralph 2! Instead of the traditional pail or pillowcase, I put together a bag for her to collect Halloween loot in that looks just like the cookie medal that Vanellope makes for Ralph in the movie! Lucky for you, I'm even sharing the cut file so that you can make one for yourself.
This post contains affiliate links for your convenience and to assist in the maintenance of this site. As always, I only share things that I use myself and truly recommend!

To make this adorably sweet trick or treat bag, you'll need these supplies:
- Black Canvas Tote Bag
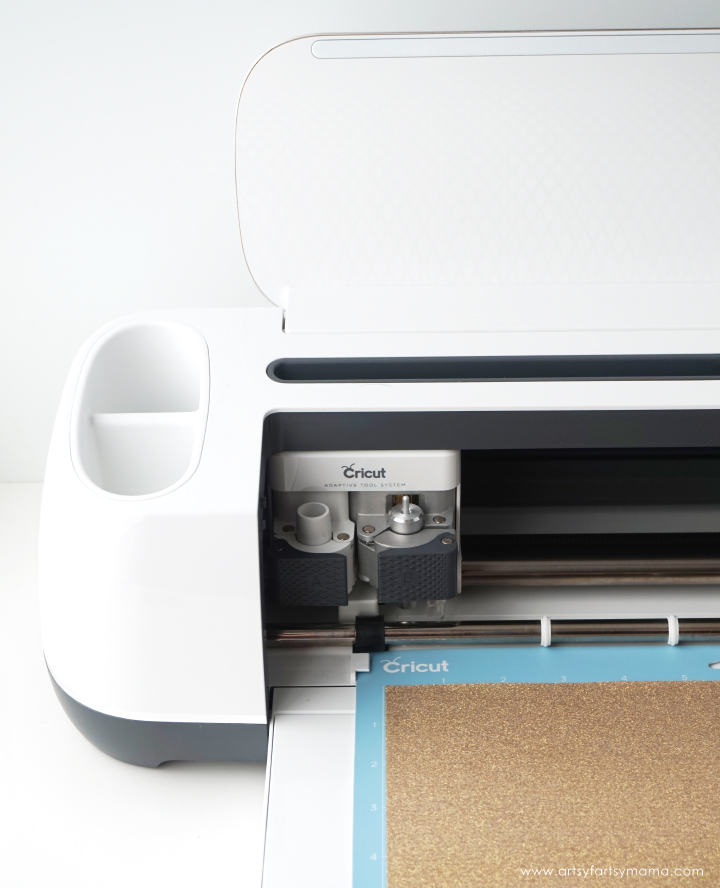
- Cricut Maker or Explore Air 2 machine
- Vanellope (Wreck-It Ralph) Medal cut file (for personal use only)
- HTV: white, teal
- Glitter HTV: gold, light pink, dark pink
- 12"x10" EasyPress 2
- EasyPress Mat
- Weeding Tools
Measure the front of your bag and decide how wide you want the finished design to be. Upload the cut file in Design Space and make any size adjustments. Remember to mirror the images, then cut the design out.
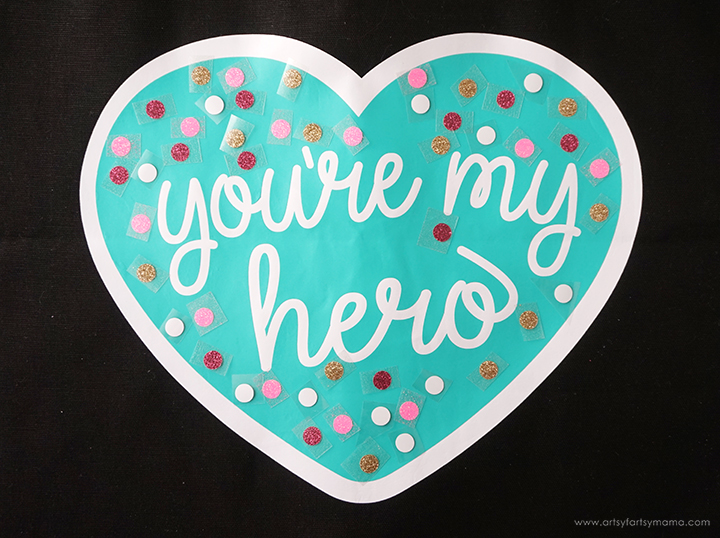
Both the teal and white hearts should be cut out of regular HTV, and the colored circles are meant to be cut out of Glitter HTV. Place the vinyl on the Cricut Cutting Mat face down and load it into the machine. Then, all you have to do is click "go" by pressing the Cricut logo button on the machine. When prompted, load and cut the other sheets of vinyl using the same directions.

"Weed" the excess vinyl by removing all of the parts that don't belong in the design. I usually start with the outer edges by peeling away at the corner and working my way around the design. Then I use a weeding tools to remove smaller pieces - or in this case, the lettering.

The new EasyPress 2 came in handy for me to attach the vinyl design to the bag. Measuring 12"x10", this larger version of the original EasyPress is perfect for bigger projects like this! It heats up in 60 seconds, and can get up to 400º F. The raspberry color is pretty cute, too. Each kind of HTV has a different heat and time setting, so be sure to check the recommended EasyPress settings before getting started.
Plug in the EasyPress 2 and power it on. Adjust the heat and time setting to your shirt and vinyl specifications. Once the light turns green and the machine beeps, it's ready to use. Once the EasyPress is up to temperature, place your bag on the EasyPress Mat and preheat the area for 5-10 seconds.

Lay the teal HTV heart over the white heart, and place a Iron-On Protective Sheet on top of the design to protect any uncovered vinyl.
Set the EasyPress over the vinyl again and press the green "C" button. Hold firmly in place while the timer counts down. Turn the bag over and press the EasyPress firmly until the timer goes off. Remove the protective sheet and peel the carrier sheet away from the vinyl. Again, if you have any edges peeling up, lay the carrier sheet back down and press again with the EasyPress.

Now, to add some sprinkles to the cookie medal! Separate all of the circles cut out of glitter HTV with scissors. Arrange the circles on top of the teal vinyl however you'd like. I pulled up images of the cookie medal from the movie to get an idea of where to place them.
Lay the Iron-On Protective Sheet on top of the design to protect any uncovered vinyl. Set the EasyPress over the vinyl again and press the green "C" button. Hold firmly in place while the timer counts down. Let the vinyl cool for a minute, then remove all the pieces of carrier sheet covering the HTV. The weeding tools came in handy for this since they are small and hot to the touch.

Pin to save for later:


Really awesome!
ReplyDeleteMy daughter loved!
thank you!!!!