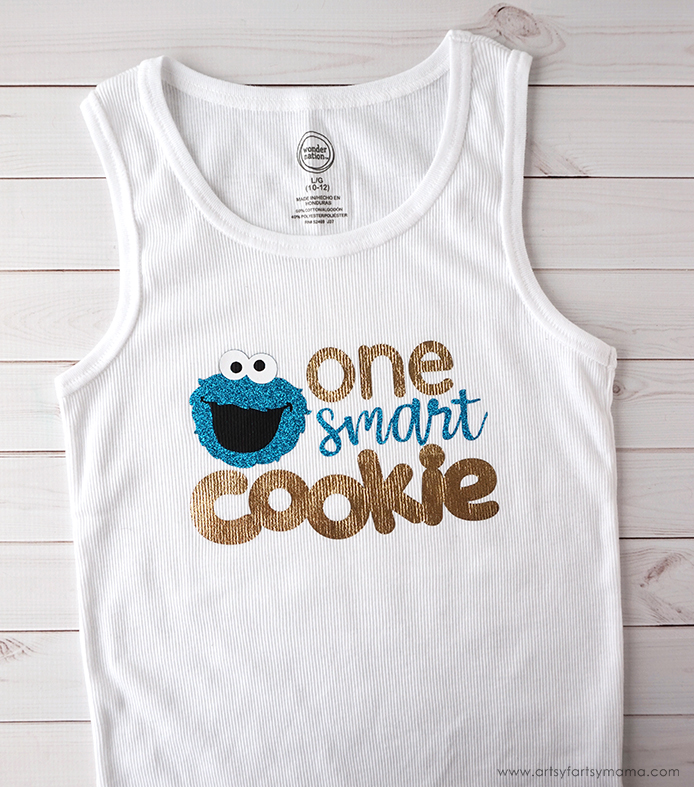
Make your own DIY "One Smart Cookie" Sesame Street Cookie Monster shirt!
This post contains affiliate links for your convenience. As always, I only share things that I use myself and truly recommend!
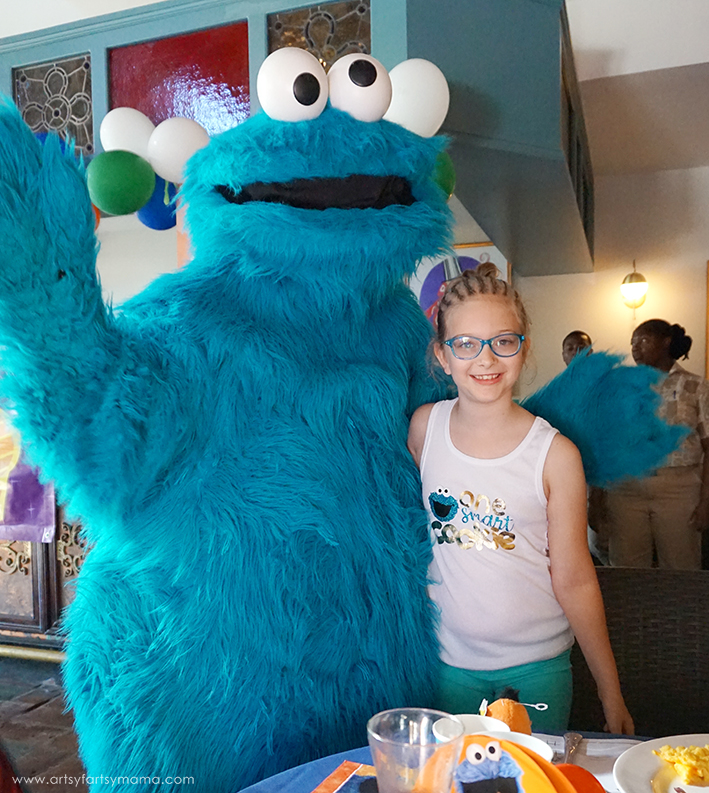
My daughter and I were both raised watching Sesame Street, and I don't think you ever outgrow the lovable characters! We recently visited the Beaches Resort in Turks & Caicos (in the Caribbean), where you can play and visit with the iconic Sesame Street characters every day! Cookie Monster is my daughter's favorite character, and she couldn't wait to meet him. So before we left on the trip, I made my daughter this shirt as a vacation surprise! The shirt was a hit and is so easy to make using the Cricut.
To make this "sweet" shirt, you'll need these supplies:
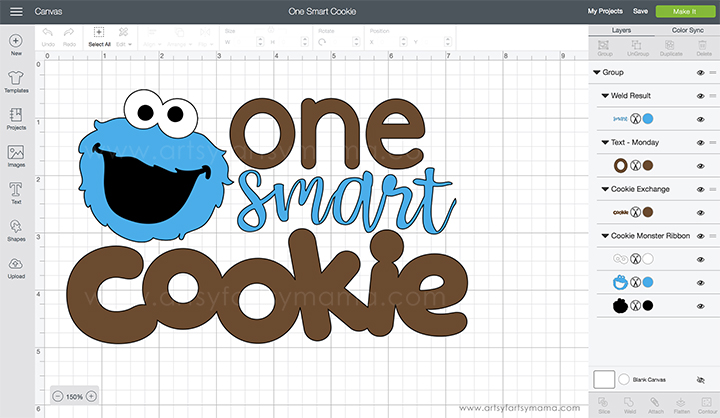
Open the "One Smart Cookie" cut file in Design Space. Click "Customize" to adjust image size, or click "Make It" to go straight to cutting the iron-on vinyl with your Cricut machine. For this project, I used black & white HTV for Cookie Monster's face, blue Glitter HTV for Cookie Monster's fur and the "smart" lettering, and gold Foil Iron-On for the "one/cookie" wording.
*If you're using the Cricut Explore or Cricut Maker machines, you can subscribe to Cricut Access to get instant access to over 50,000 images, fonts, and projects for endless possibilities! That subscription also gives you 50% off digital fonts, images, and cartridges in Design Space and 10% off all physical purchases on the Cricut website!
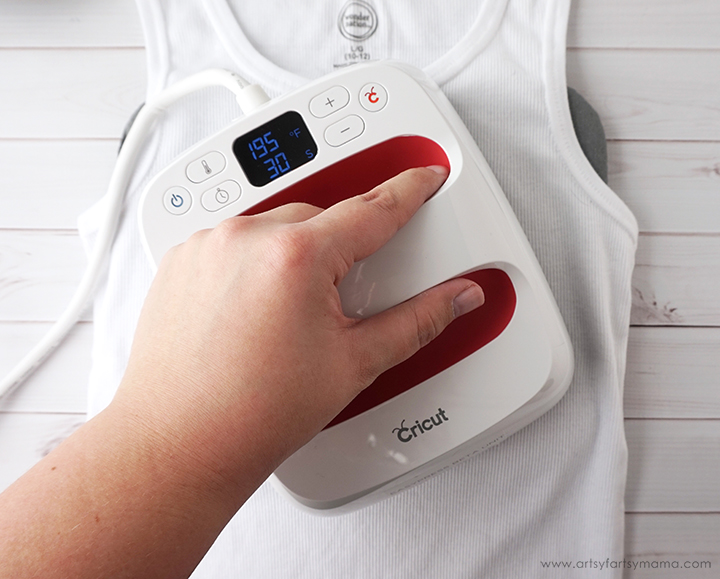
Heat up the EasyPress 2. Each kind of iron-on vinyl has a different heat/time setting for different materials, so be sure to check the recommended EasyPress settings for best results.
Once the EasyPress is up to temperature, place the shirt on the EasyPress Mat and preheat the area for 5-10 seconds. Lay the foil iron-on vinyl down first, with the clear carrier sheet on top. Set the EasyPress over the vinyl and press the green "C" button. Hold firmly in place while the timer counts down. Turn the bag over and press the EasyPress firmly again for 15 seconds.
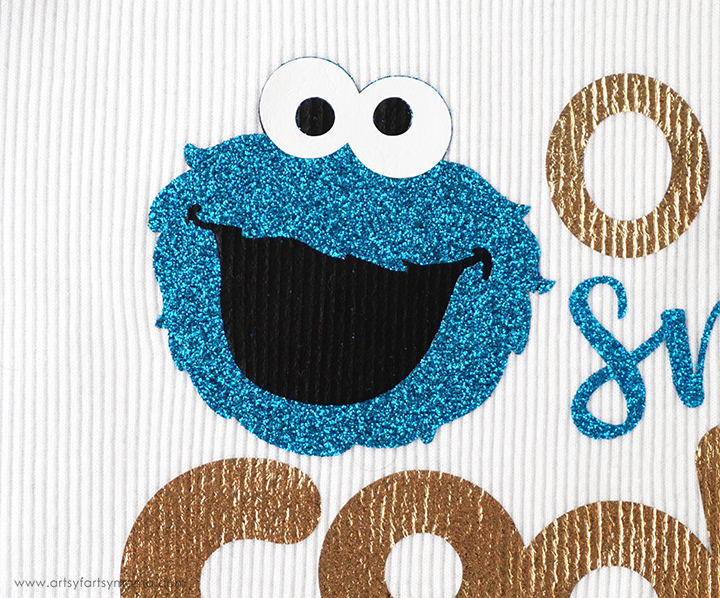
Cookie Monster's face requires some HTV layering. It sounds daunting, but it really is easy. After the gold foil vinyl has been placed, lay down the black vinyl of Cookie Monster's face. To protect the foil vinyl (since the carrier sheet has been peeled off), lay the Iron-On Protective Sheet down before pressing. Peel the carrier sheet while the vinyl is still warm.
Next, place the blue glitter HTV down over the black vinyl. Lay the protective sheet down again, and press the vinyl. Last, but not least, put the white vinyl eyes down on Cookie Monster's face. Again, place the protective sheet on top, and press the vinyl into place.
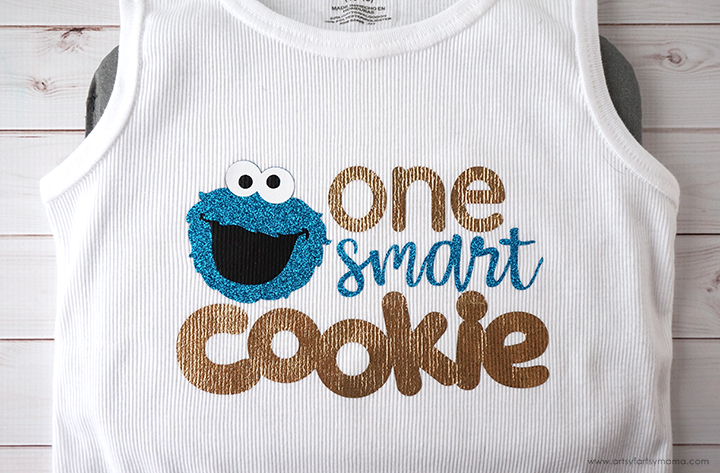
It really is that easy! For best results, wait 24 hours after applying the vinyl before washing the shirt.
Don't forget about the Cricut StrongBond Guarantee:
To make this "sweet" shirt, you'll need these supplies:
- White shirt
- Cricut Maker or Explore Air 2 machine
- "One Smart Cookie" Design Space file (for personal use only)
- HTV: black, white
- Glitter HTV: blue
- Foil Iron-On: gold
- 6"x7" EasyPress 2
- EasyPress Mat
- Iron-On Protective Sheet
- Weeding Tools

*If you're using the Cricut Explore or Cricut Maker machines, you can subscribe to Cricut Access to get instant access to over 50,000 images, fonts, and projects for endless possibilities! That subscription also gives you 50% off digital fonts, images, and cartridges in Design Space and 10% off all physical purchases on the Cricut website!

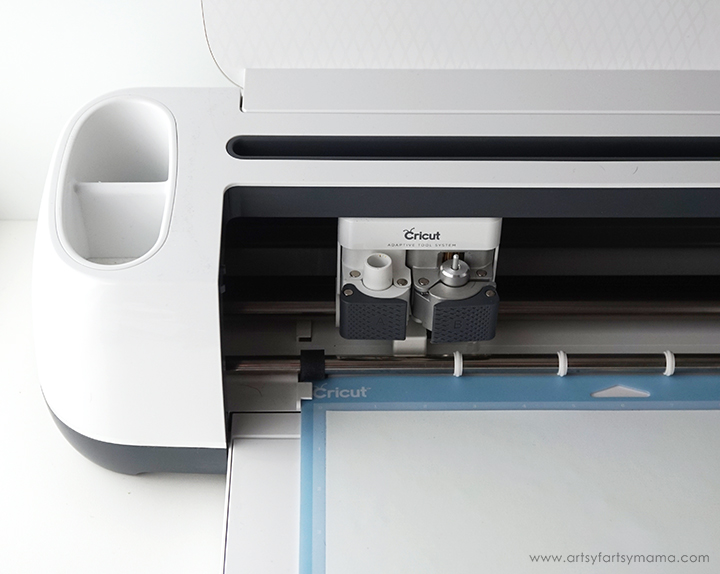
When cutting your iron-on vinyl, make sure to mirror your images and place the vinyl face-down on the mat. If you don't, your design will be backwards when you put it on your shirt. To do this, click on each mat thumbnail before cutting and click the "Mirror" toggle to reverse the image on the mat.
"Weed" the excess vinyl by removing all of the parts that don't belong in the design. I usually start with the outer edges first by peeling away at the corner and working my way around the design. Then I use a weeding tool to remove smaller pieces of the design, like the insides of letters.

Heat up the EasyPress 2. Each kind of iron-on vinyl has a different heat/time setting for different materials, so be sure to check the recommended EasyPress settings for best results.
Once the EasyPress is up to temperature, place the shirt on the EasyPress Mat and preheat the area for 5-10 seconds. Lay the foil iron-on vinyl down first, with the clear carrier sheet on top. Set the EasyPress over the vinyl and press the green "C" button. Hold firmly in place while the timer counts down. Turn the bag over and press the EasyPress firmly again for 15 seconds.

Next, place the blue glitter HTV down over the black vinyl. Lay the protective sheet down again, and press the vinyl. Last, but not least, put the white vinyl eyes down on Cookie Monster's face. Again, place the protective sheet on top, and press the vinyl into place.

Don't forget about the Cricut StrongBond Guarantee:
Making sure your iron-on material sticks and continues to stick after many, many washes is paramount. At Cricut, the quality of our iron-on materials and our EasyPress are best-in-class. This is why we now have in place the StrongBond™ Guarantee on many of our iron-on materials. Cricut’s StrongBond™ Guarantee means that when this iron-on material is used as directed, you’ll be completely satisfied with the results. If not, we’ll replace it for free. Look for the StrongBond™ Guarantee on select iron-on materials.

Needless to say, my daughter was thrilled with the shirt and Cookie Monster loved it, too! She got so many compliments wearing the shirt around Beaches Resorts, and it brought a smile to so many faces. I think we'll make another version of this shirt with longer sleeves for her to wear in the winter.
Who is your favorite Sesame Street character?


Question...this is my first Cricut project. Why did Cricut charge me to use this design?
ReplyDelete