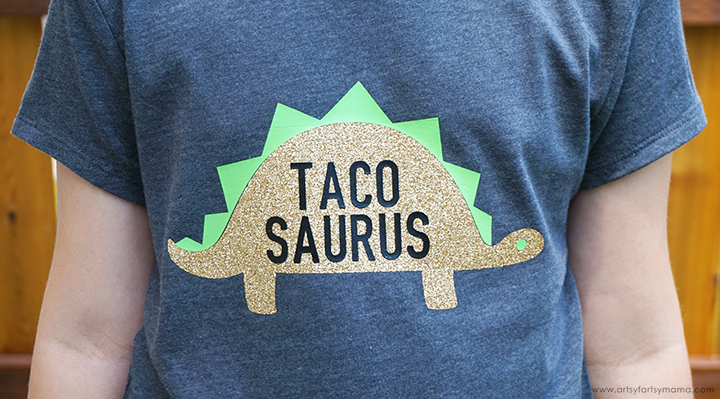
Share your love of tacos...and dinosaurs with this Tacosaurus T-Shirt with Free Cut File!
- Blank T-Shirt
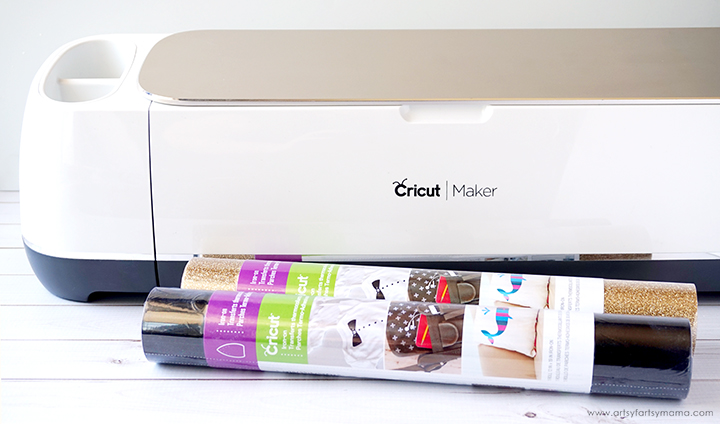
- Cricut Maker or Cricut Explore machine
- Tacosaurus Cut File
- Gold Glitter Iron-On Vinyl
- Black Iron-On Vinyl
- Lime Green Iron-On Vinyl
- Weeding Tool Set
- Cricut EasyPress
- Cricut EasyPress Mat
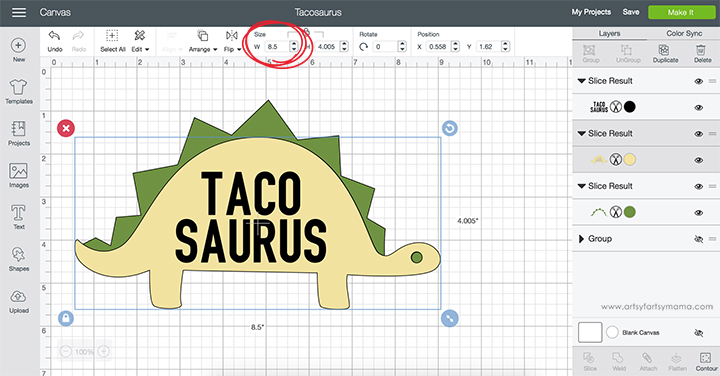
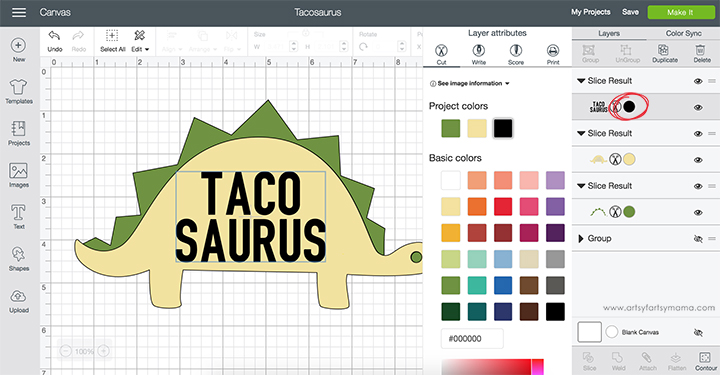
If you want to make your design using different color vinyls than I used, you can change the design colors to represent the color of your vinyl by clicking the colored circle next to the design thumbnail in the right toolbar (it's circled in the image above). This step is helpful to make sure you don't cut the wrong vinyl by mistake. When you're finished with adjustments, click "Make It" in the top right corner.
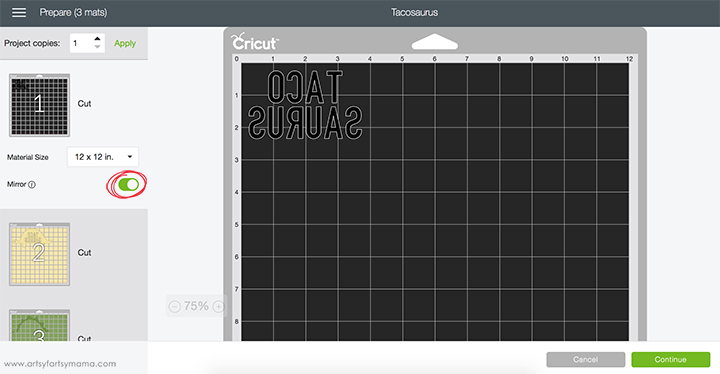
The next screen is to help you prepare your mats before cutting. Since we are cutting iron-on vinyl, you HAVE to make sure to mirror your image. If you don't, your design will be backwards when you put it on your shirt. Click on each mat thumbnail and click the Mirror toggle to reverse the image on the mat (I've circled the toggle in the image above).
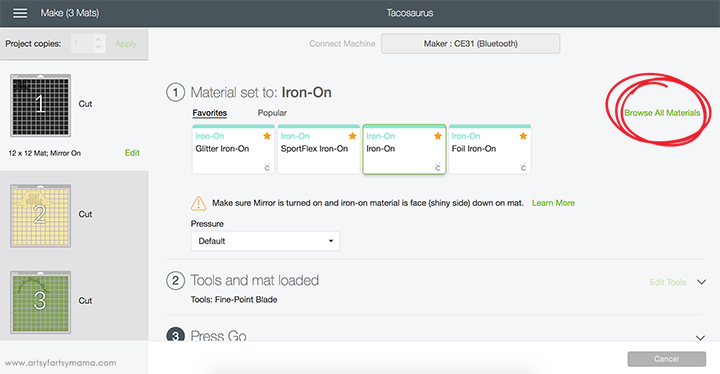
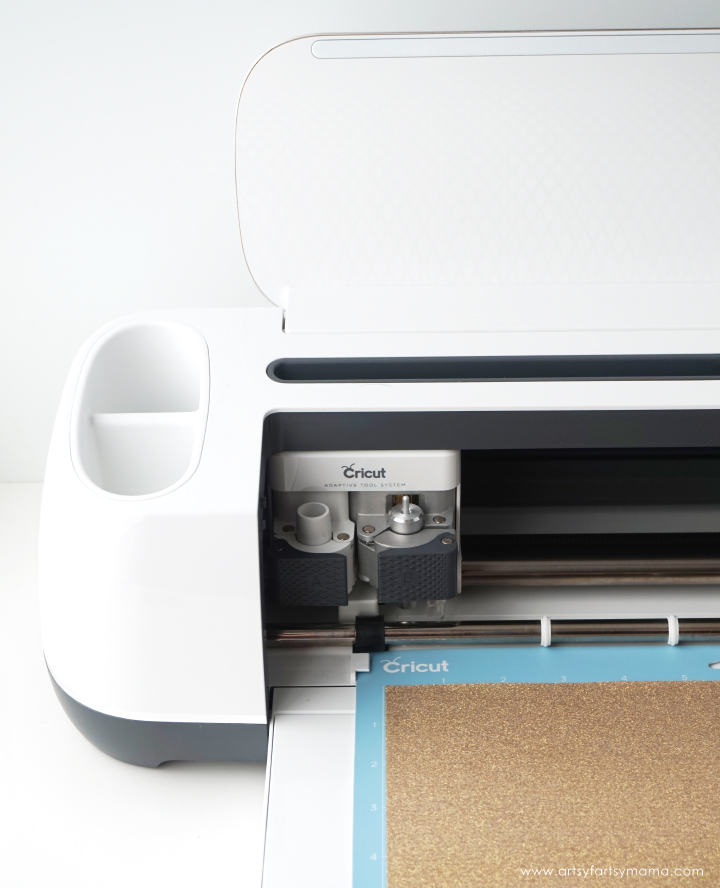
Place the vinyl on the Cricut Cutting Mat face down and load it into the machine. Then, all you have to do is click "go" by pressing the Cricut logo button on the machine. When prompted, load and cut the other sheets of vinyl using the same directions.
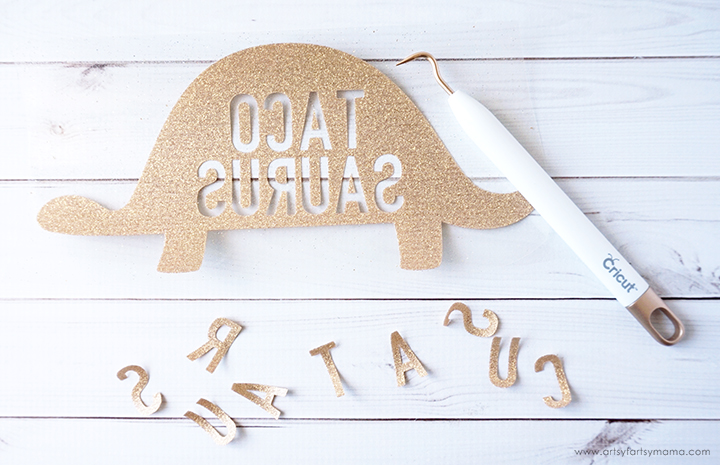
"Weed" the excess vinyl by removing all of the parts that don't belong in the design. I usually start with the outer edges first by peeling away at the corner and working my way around the design. Then I use a weeding tool to remove smaller pieces of the design, like the insides of letters.
Turn the pieces over and make sure that all of the weeding is completely done. Set the vinyl aside to prep the shirt.
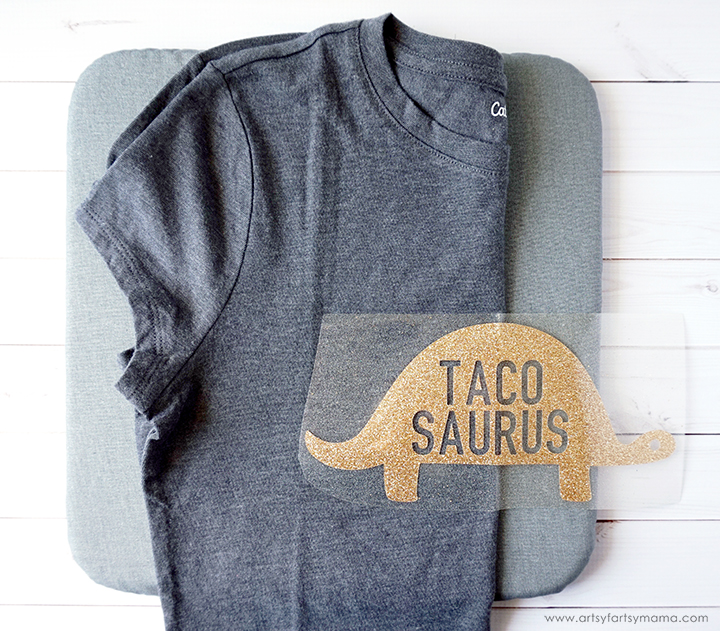
I often have trouble getting the vinyl centered on the shirt, so I've been using this little trick to save me some time: Fold the shirt in half and press it to make a crease down the center. Fold the vinyl liner in half and make a crease at the top and bottom of the liner (NOT the vinyl). Line up the vinyl liner fold marks on the crease in the shirt. Voila! Now your vinyl is centered! Press the liner down so it sticks well to the shirt.
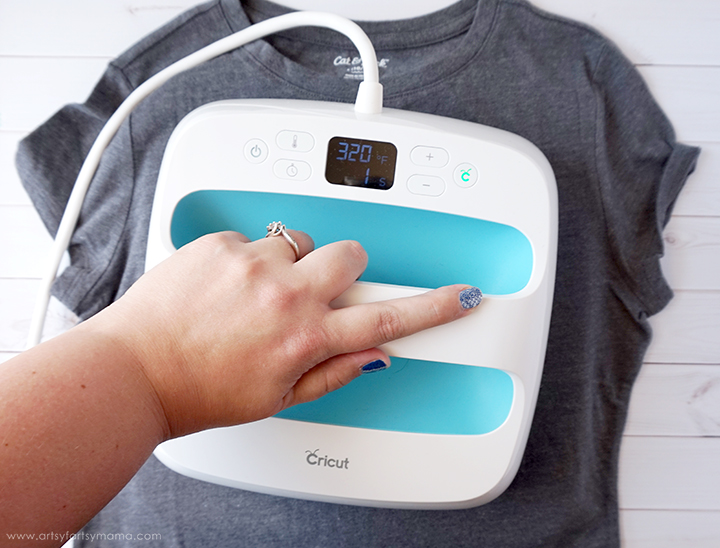
Set the EasyPress over the vinyl and press the green "C" button. Hold firmly in place while the timer counts down. Turn the shirt over and press the EasyPress again firmly for about 15 seconds.
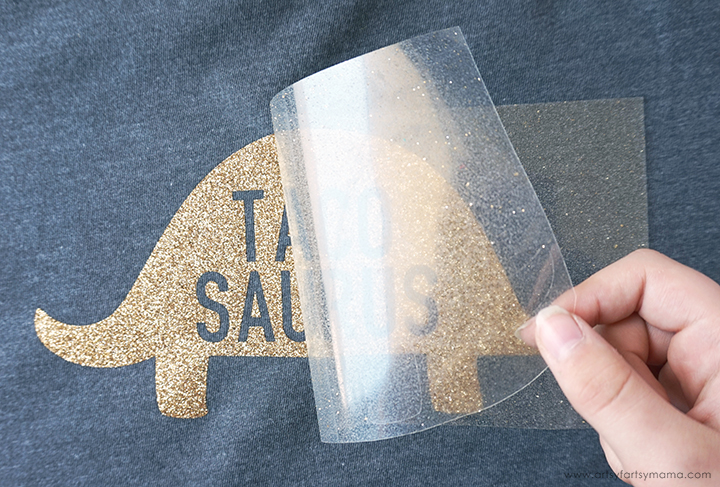
Let the shirt cool for a minute or two, then carefully peel away the carrier sheets. The vinyl should be completely stuck on the shirt. If you have any edges peeling up, lay the carrier sheets back down and press the shirt again with the EasyPress.
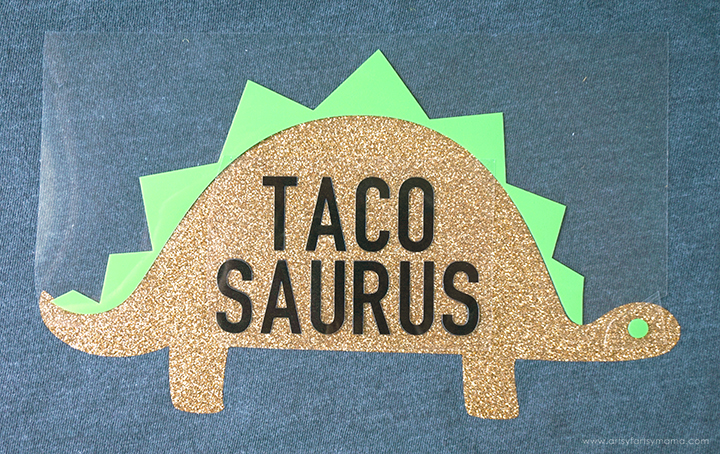
Adjust your EasyPress temperature if necessary (iron-on vinyl with cotton/poly shirt is 305º/20 sec) and let it heat up. Lay the other pieces of vinyl over the dinosaur body design, and place the body carrier sheet back over to make sure you don't burn/melt the glitter vinyl.
Set the EasyPress over the vinyl again and press the green "C" button. Hold firmly in place while the timer counts down. Turn the shirt over and press the EasyPress again firmly for about 15 seconds. Again, if you have any edges peeling up, lay the carrier sheets back down and press the shirt again with the EasyPress.
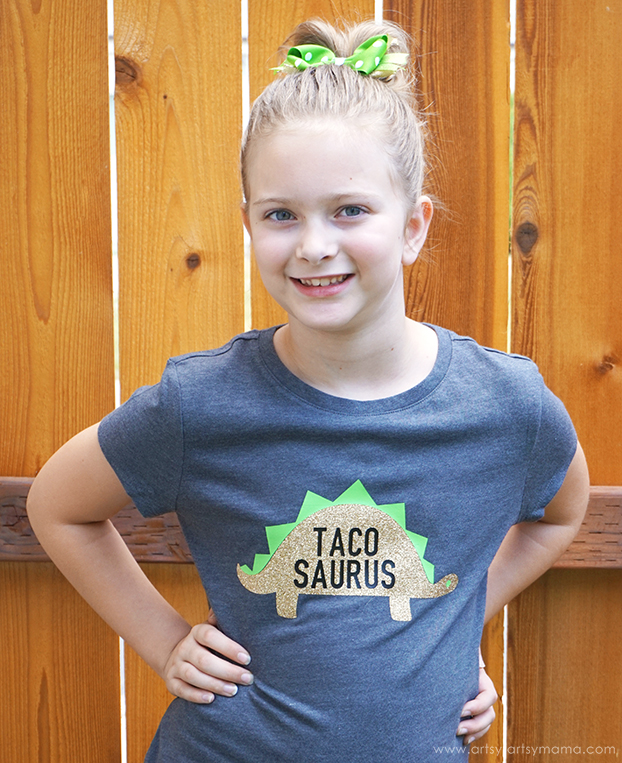
Now you can proudly wear your Tacosaurus Shirt everywhere you go to let the world know how much you LOVE tacos...or dinosaurs...or dinosaurs made of tacos! Whatever you choose, I just really hope you have a ton of fun making your own Tacosaurus Shirt!


