Make your own DIY Turbo Racer from the Young Woodworkers Kit Club!
This is a sponsored post and contains affiliate links. As always, all opinions are my own.
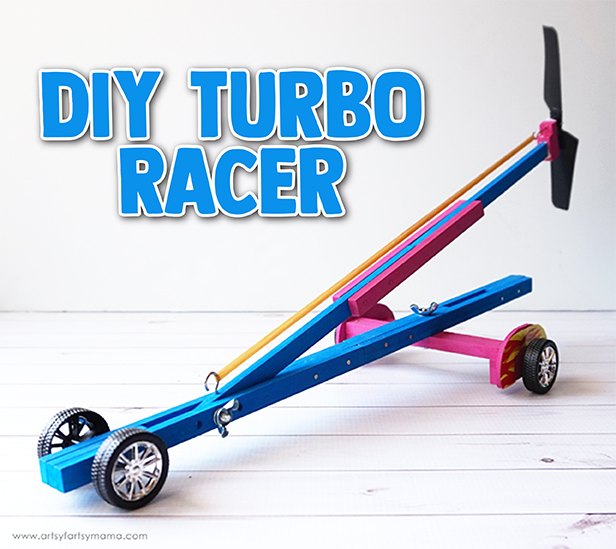
It doesn't matter if it's a large home improvement project or assembling building kits, my daughter loves hands-on projects. Allowing kids to work on these kinds of projects can help them to learn new creative skills, work independently, and most importantly, gain confidence! After building the Marshmallow Launcher, my daughter couldn't wait to get started on this Turbo Racer kit from Young Woodworkers Kit Club!
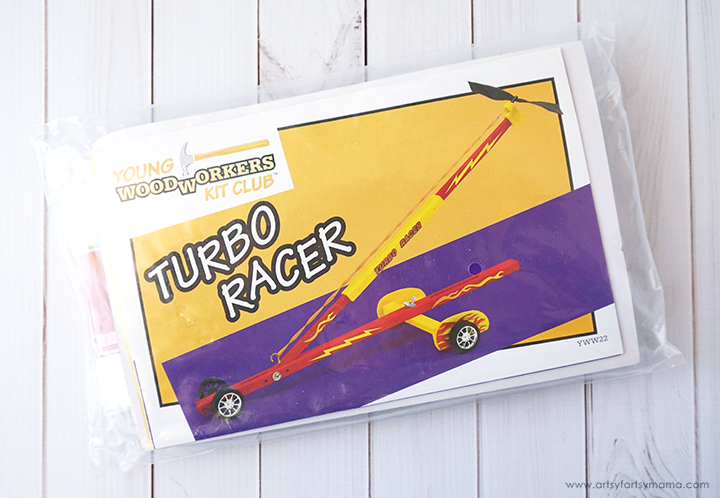
When you sign up for the Young Woodworkers Kit Club, a new kit will arrive in the mail every 4-6 weeks with a real wood project for your child to complete, like this Turbo Racer Kit!

Each kit comes with easy-to-follow instructions with photos of every step. This Turbo Racer Kit also came with a paint brush, paint, and stickers to customize your project after it has been built!

You also get all of the pre-cut wood, including pre-drilled nail holes and all the necessary nails and fasteners. The kit also includes the wheels and the other accessories your child needs to complete each project from start to finish!


She painted each wood piece with 2 coats of paint, making sure to let the paint dry completely between each coat. Don't worry - this paint dries quickly, so kids won't be waiting long!
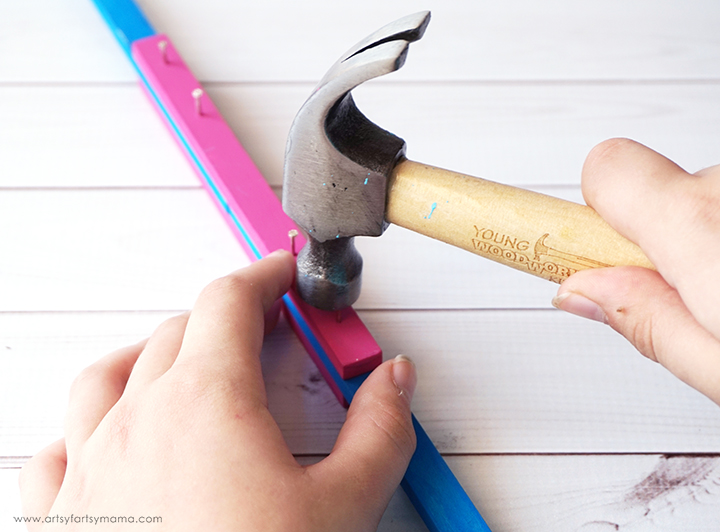

There wasn't a nail for this part of the project, so you'll need some wood glue (not included in the kit) to keep the axle and the fender together. This was the first time my daughter used wood glue all on her own, and she was so proud of herself.
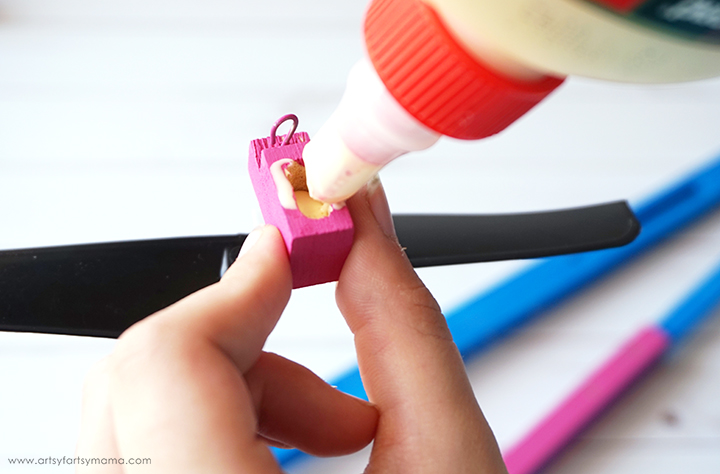
While the glue is out, you'll also need it to attach the propeller piece to a strip of wood that will be toward the back end of the racer. Hold the propeller piece firmly in place for a minute or two, then leave both of the glued pieces to dry for a few hours.

While the glue is drying, you can start assembling the front of the racer and putting the wheels on.

Add a bolt with a washer and wing nut to hold the front wheel piece to the propeller piece. All of these steps are easy enough for kids to handle, and will build their confidence as they see their project coming together.

Once the glue has dried on the rear axle piece, you can add stickers to the fenders and attach the wheels and the axle.
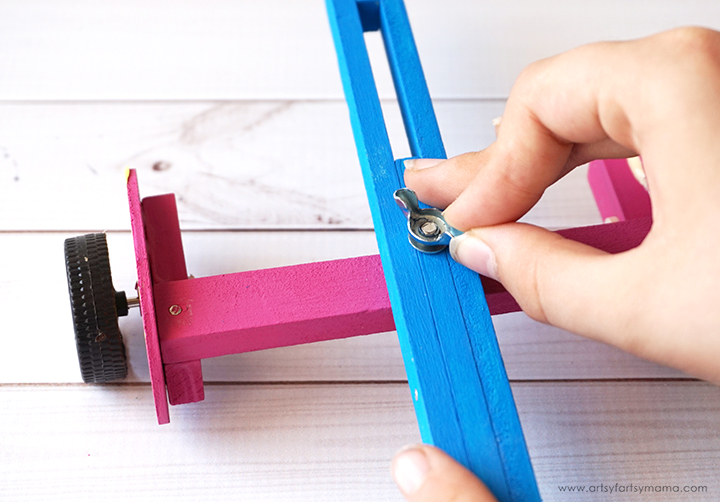
Use another bolt, washer, and wing nut to hold the back of the racer to the back axle piece.

My husband and daughter had a ton of fun building this Turbo Racer together, and it was a memorable bonding moment for the two of them. We also had a fun time competing as a family to see who could get the racer to go the farthest!
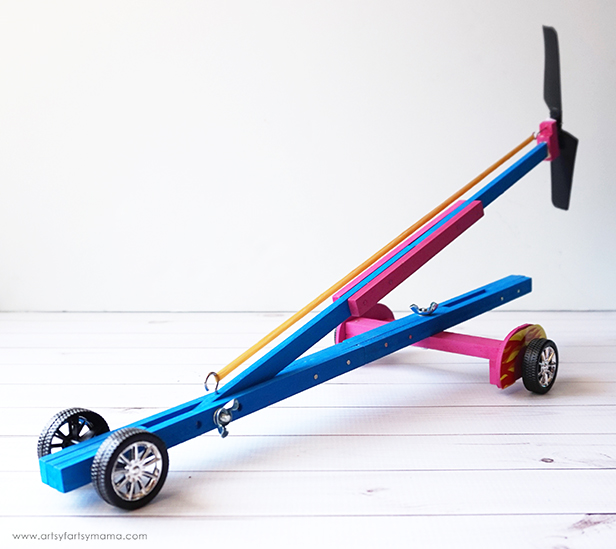
Not only is this Turbo Racer a TON of fun, but it's also a great STEM activity that proves that you CAN learn while having fun! How far can you get the racer to go? Where does the racer get its speed? What can you change to make the racer go farther, or faster?
There's so much to learn about physics (science!), when rotating the propeller and letting go. We can use technology to learn different ways to adjust the speed and distance. We used our engineering skills to actually build the Turbo Racer. We also threw in some art ("STEAM") by painting the racer in a creative way Finally, get racing and use math to measure your distances!
There's so much to learn about physics (science!), when rotating the propeller and letting go. We can use technology to learn different ways to adjust the speed and distance. We used our engineering skills to actually build the Turbo Racer. We also threw in some art ("STEAM") by painting the racer in a creative way Finally, get racing and use math to measure your distances!
How do you encourage hands-on creativity with kids?
Pin this image to save the project for later:


