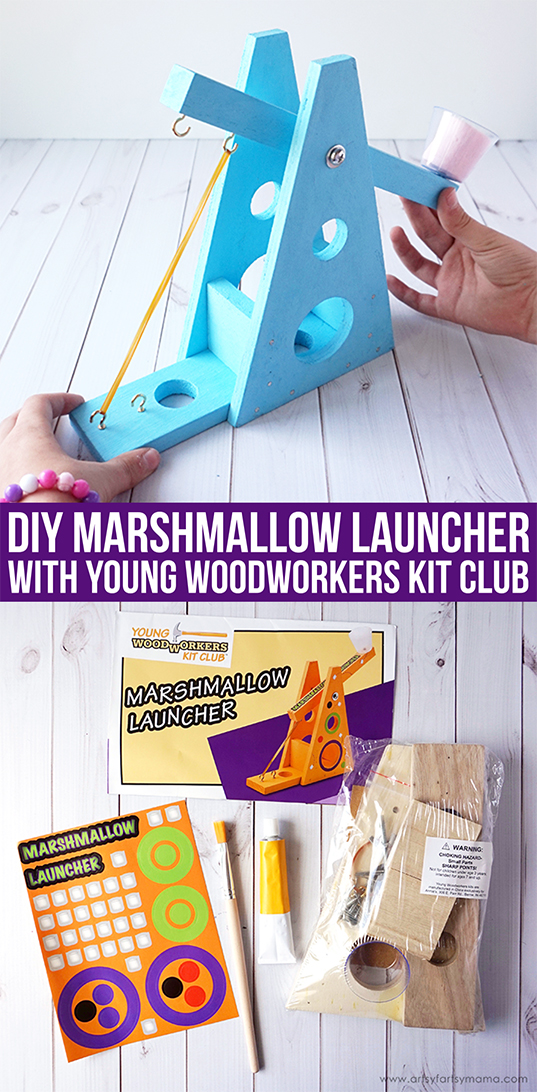
Make your own DIY Marshmallow Launcher from the Young Woodworkers Kit Club!
This is a sponsored post and contains affiliate links. As always, all opinions are my own.

My daughter has always enjoyed helping my husband when he's working on projects around the house and assembling small building kits found at our local home improvement store. Allowing kids to help with these kinds of projects will help kids learn new creative skills, work independently, and most importantly, gain confidence! The latest project my daughter and husband worked on together was this Marshmallow Launcher kit from Young Woodworkers Kit Club!

The Young Woodworkers Kit Club is a woodworking kit series designed for children 7-12 years old. This is the perfect age to start teaching basic woodworking skills, including handling a hammer, learning to use small screws and nails, using sandpaper to round off rough edges, learning the importance of making careful measurements and much, much more! When you sign up for the Young Woodworkers Kit Club, a new kit will arrive in the mail every 4-6 weeks with a real wood project for your child to complete, like this Marshmallow Launcher Kit!

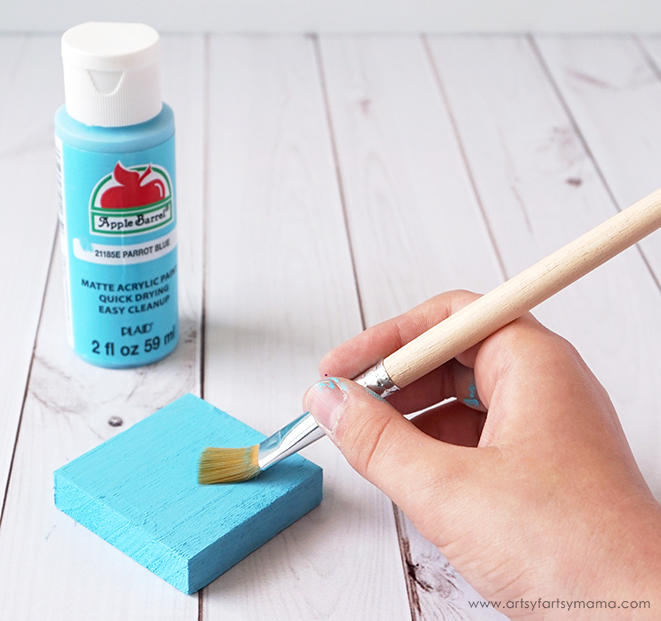
My daughter painted the wood pieces before assembling the Marshmallow Launcher. Instead of using the yellow paint from the kit, she made it her own by using some Apple Barrel craft paint in Parrot Blue color. These paints are perfect for kids crafts because they are water-based and easy to clean with soap and water!
She painted each piece with 2 coats of paint, letting the paint dry completely between each coat. Don't worry - this paint dries quickly, so they won't be waiting long!

After everything has been painted, start assembling the launcher by following the easy-to-follow, illustrated instructions with photos of every step. The pre-drilled nail holes in the wood pieces make it easier for kids hammer the nails in place.

As you follow the directions, the marshmallow launcher starts to come together! Assemble the arm and attach it to the base of the marshmallow launcher with a screw and a wing nut.
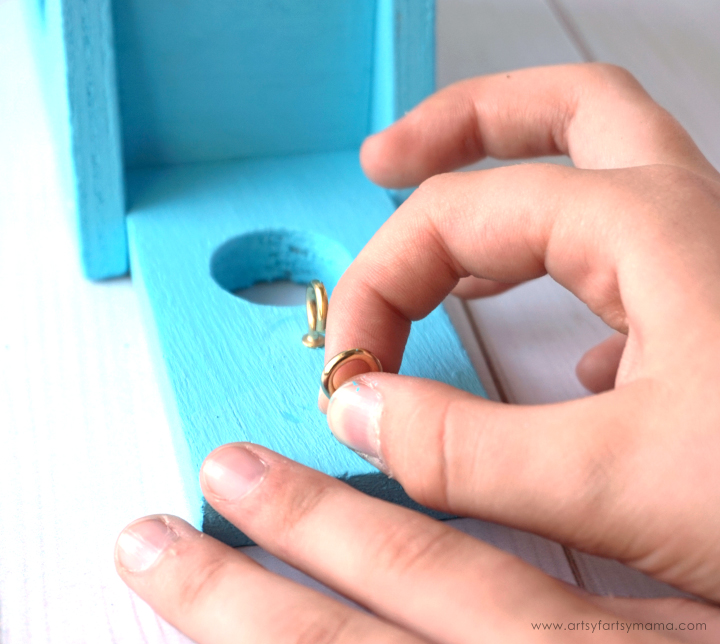
Next, attach hook screws to the base according to directions. You don't need any tools for this step, just your hands!
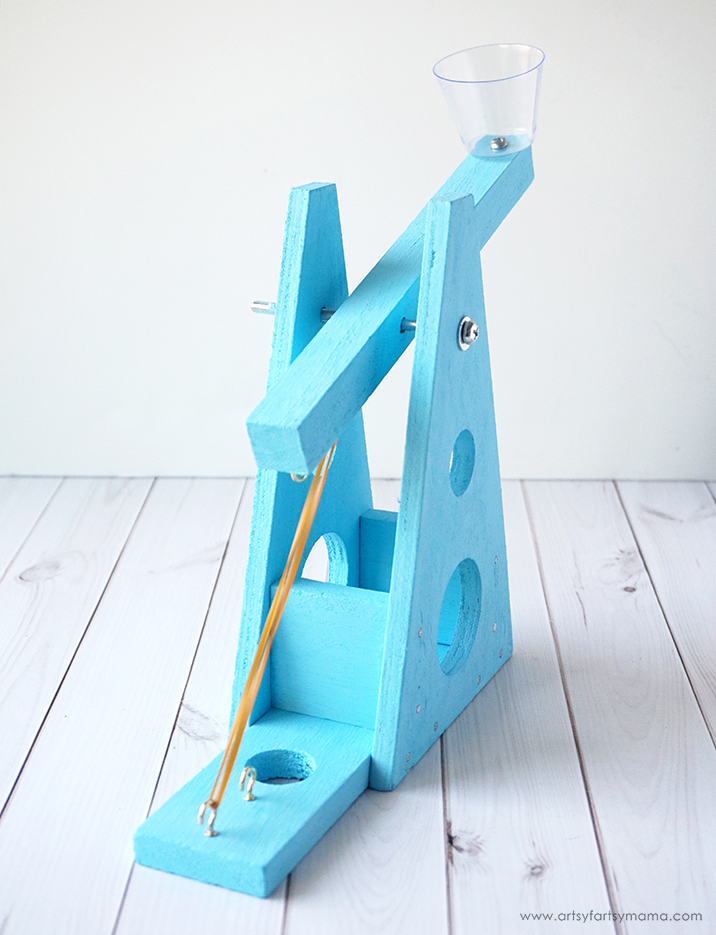
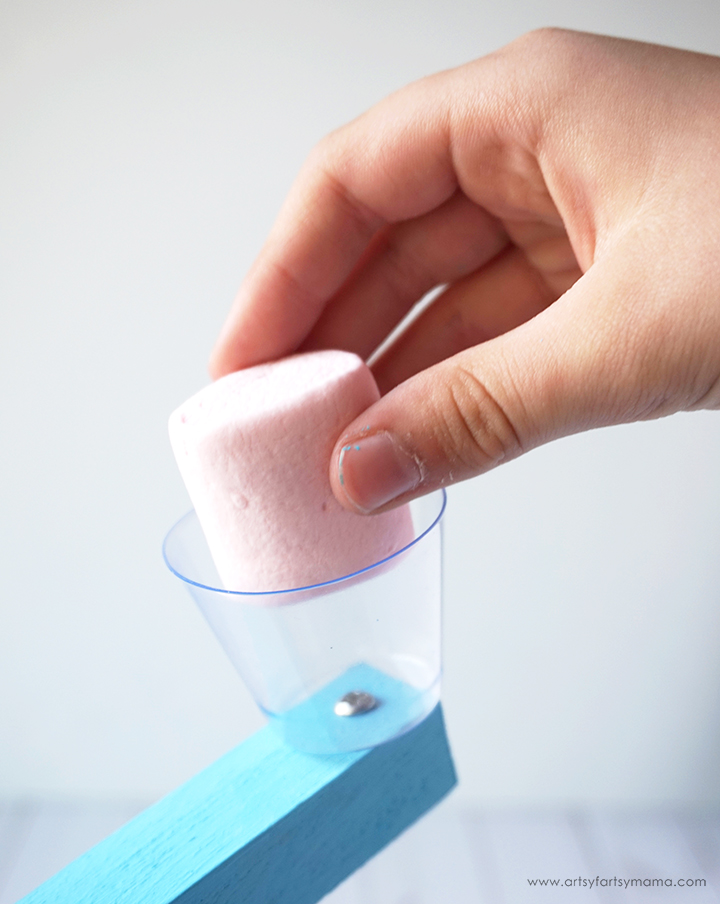
Not only is this Marshmallow Launcher a TON of fun, but it's also a great STEM activity that proves that you CAN learn while having fun! How far can you launch the marshmallow? Can you hit a target? What can you change to make the marshmallow fly the farthest?
There's so much to learn about physics (science!), when pulling the arm of the launcher back and letting go. We can use technology to learn different ways to adjust the marshmallow's flying distance. We used our engineering skills to actually build the Marshmallow Launcher. Finally, get playing and use math to measure your distance after launching marshmallows!
There's so much to learn about physics (science!), when pulling the arm of the launcher back and letting go. We can use technology to learn different ways to adjust the marshmallow's flying distance. We used our engineering skills to actually build the Marshmallow Launcher. Finally, get playing and use math to measure your distance after launching marshmallows!

If you’re looking for a gift idea or summer fun for creative kids, visit Young Woodworkers Kit Club to subscribe and check out fun project ideas! You can also follow them on Instagram and Facebook for more creative inspiration.
How do you encourage creativity through the summer?
Pin this image to save the project for later!


That looks sooooo fun! Good job dad and daughter! I love the color! Xoxo
ReplyDeleteIs there any way to do this with our own materials? And if so, what would we need?
ReplyDelete