This post is sponsored by BSM Media and contains affiliate links. As always, all opinions are my own.
Circuit Cubes are a fun way to encourage STEM with kids at home!

As a homeschooler, we are always looking for more fun ways to incorporate STEAM (Science, Technology, Engineering, Art, and Math education) activities into our curriculum. My daughter loves putting things together and figuring out how things work. You can also find her right in the middle of all of our home renovations, asking questions and how she can help.
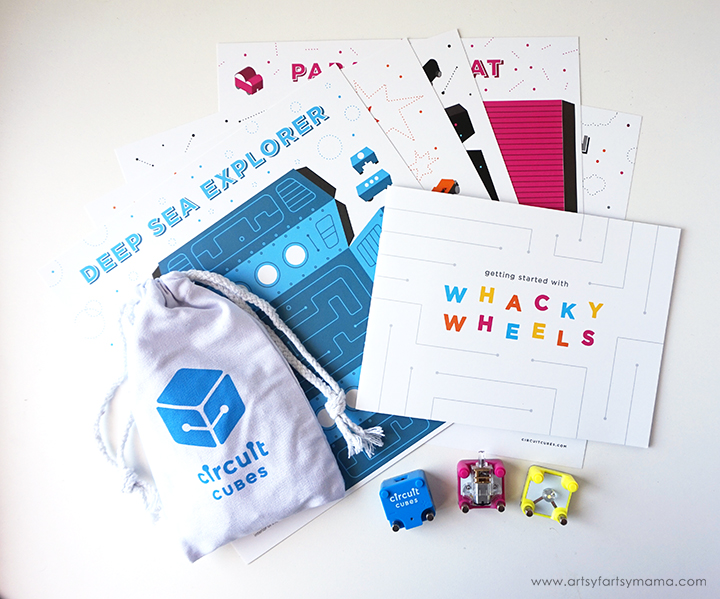
Tenka Labs designs STEM toys like Circuit Cubes for ages 8 and up with the help of STEM teachers. Circuit Cubes are electronic building blocks that are compatible with all major building block brands to encourage creative STEM play. This Whacky Wheels set comes with everything you need to build 5 cars!

The star of all of the Circuit Cubes sets are the cubes themselves. You've got the blue battery cube that is rechargeable, the motor cube, and an LED cube to light up your creations. The motor and LED cubes are semi-transparent for kids to see the technology behind the fun. By combining and mixing up the cubes, you can create all kinds of things that will move and light up to keep your kids entertained AND learning!


One of the first things we did was play with the cubes themselves to see just what they would do. The battery cube comes with a USB cord so you can charge it up. While it was plugged in, we figured out that a wheel fits perfectly onto one end of the motor cube.

We placed the LED cube on top of the motor cube and quickly twisted the wheel. That created a short burst of power strong enough to light up the bulb! My daughter thought it was SO cool that she could do that without the power of a battery and it lead to a good discussion about WHY it worked.


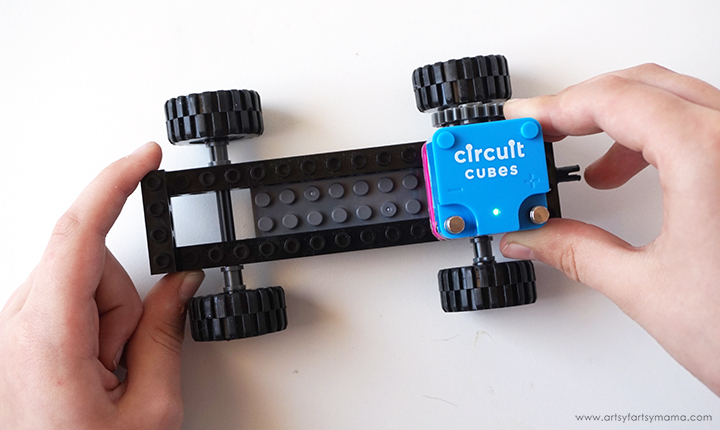
The next step is to connect the motor cube and gear to the frame, and attaching the wheels to the axles. By taking it one step at a time, it helped my daughter to better understand how the car is going to work in the end.

Make sure that the battery cube is charged, then connect it to the top of the motor cube. Turn the switch to "on" and test out the car! You can even add other LEGOs to the frame to create your own car design.

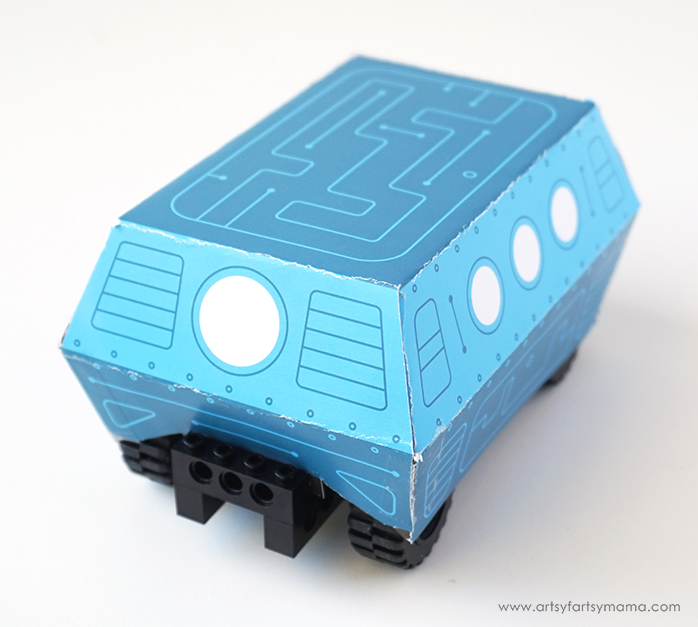
My daughter wanted to transform her car into a Deep Sea Explorer. Each design has easy-to-follow instructions printed on the page so kids can assemble it on their own. Smaller kids will definitely need help cutting out the designs and folding it into shape.

After assembling the Deep Sea Explorer shell, place it on top of the car. It fits perfectly and is so fun to watch it drive around with this new look! I'm sure we'll be assembling the rest of the designs here pretty soon.

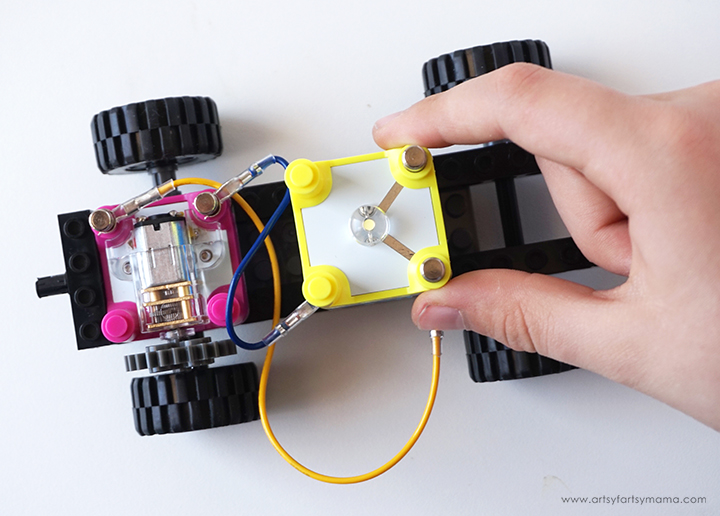
Another fun feature of the Whacky Wheels set is that it includes wires so that you can change up car designs and learn more how circuits work. We kept the motor cube in place, but moved the battery over to see how we could get the car to run with the cubes farther apart.

Next, we added the LED cube to the top of the battery cube in hopes that we could get the three to work together. It took a few tries, but we finally got it to work. This was actually helpful, because it opened the opportunity for troubleshooting and figuring out a solution.

Which Circuit Cubes sets would you like to try?


