This post is a sponsored by Cricut. The opinions and text are all mine. This post also contains affiliate links.

Whether you stay up until midnight to ring in the New Year or celebrate earlier for an early bedtime, you can still host a memorable New Year's Eve party with friends and family. These New Year's Eve Party Ideas can all be made with the Cricut to make your party one to remember!

- Cricut Maker Machine
- New Year's Eve Cut Files
- Glitter Vinyl
- Glitter Iron-On Vinyl
- Cardstock
- Glitter Cardstock
- Cricut Metallic Gold Pen
- Cricut EasyPress
- Cricut BrightPad
- Cricut Weeding Tool Set
- Cricut Paper Crafting Set
- Tape

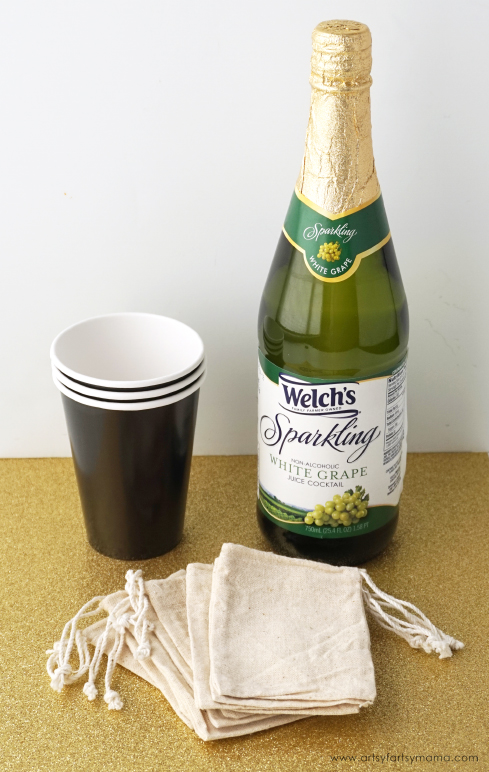
You'll also need some plain, black cups (plastic or paper will work great), a bottle of wine or sparkling cider, and some small muslin favor bags.

Cut the bottle wrapper pieces out of black cardstock and gold glitter cardstock with the Cricut Maker. Wrap the black piece of cardstock around the sparkling cider bottle to cover the label and tape the ends together in the back.

Next, wrap the gold glitter cardstock wrapper around the bottle over the black cardstock. Weave the arrow end into the tab on the opposite end of the paper. If you need to, add a couple lines of tape runner or glue stick on the back of the glitter cardstock to keep it in place.
That's it for the bottle! You can also resize the image in design space to fit on water bottles, and even soda bottles to dress up your beverages for the party!

For both the cups and party hats, you need to cut glitter vinyl. You can use black glitter or gold glitter depending on the color of the cups and hat bases you choose.

I adore glitter vinyl, but I am totally not a fan when it comes to weeding it. Because of all the texture, it can sometimes be hard to see where the cuts are to remove the excess vinyl without ruining your project. One thing that has helped me tremendously with this process is using the Cricut BrightPad.

All you have to do is plug it in, lay your vinyl on the screen, and adjust the brightness level. Like magic, you can see your design cuts, which makes it easier than ever to weed your project!

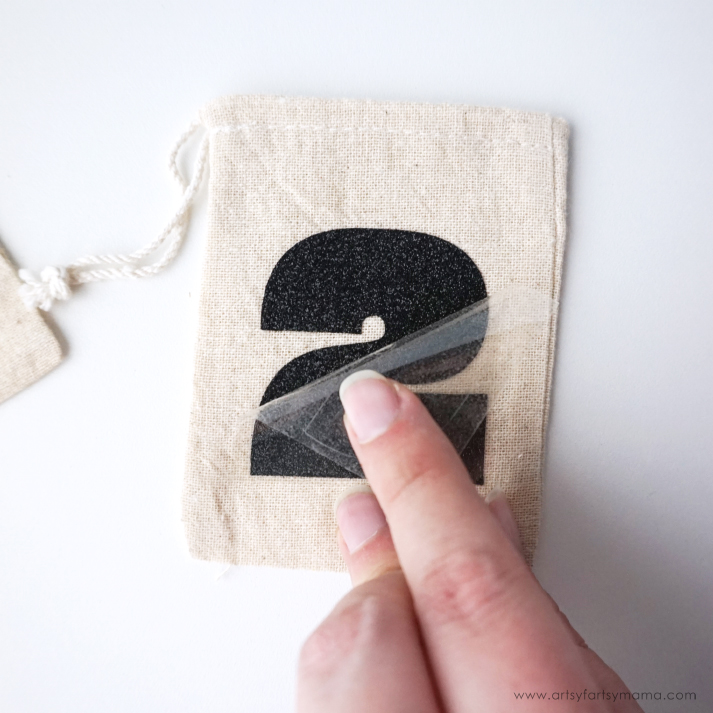
Use the Weeding Tools to remove all of the excess vinyl. Carefully peel the vinyl away from the backing with your fingers or use some transfer paper.

Carefully place the vinyl on the cups. I started with the "0", and then carefully let the other numbers fall in place. Smooth out the vinyl with your fingers and carefully peel up the vinyl if you need to adjust it or smooth out a wrinkle. Now the cups are ready to use! I think they will be so fun for drinking our sparkling cider out of at our party.

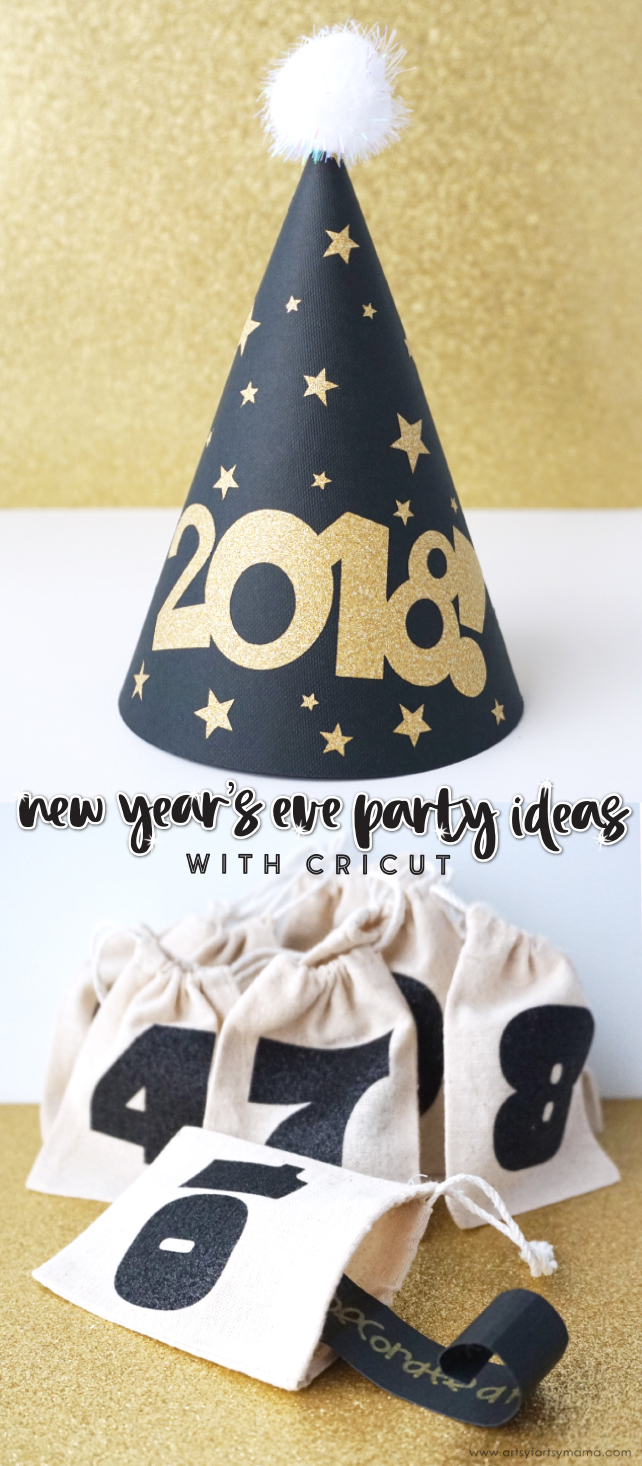
The hat templates are all ready for you to cut in Design Space. I cut out some hats with black cardstock bases and gold glitter vinyl decorations, and some with gold glitter cardstock bases with black gitter vinyl decorations.

When it comes time to decorate and assemble the hats, simply peel the vinyl off of the backing and stick the year and stars on the hat base. Curl the sides of the hat ends together and stick the tab through the slit. Add a piece of tape inside the hat on the tab for extra strength. You can also punch a small hole on each side of the hat and tie some elastic on so it's a little easier to wear. For fun, glue a pom pom on top!

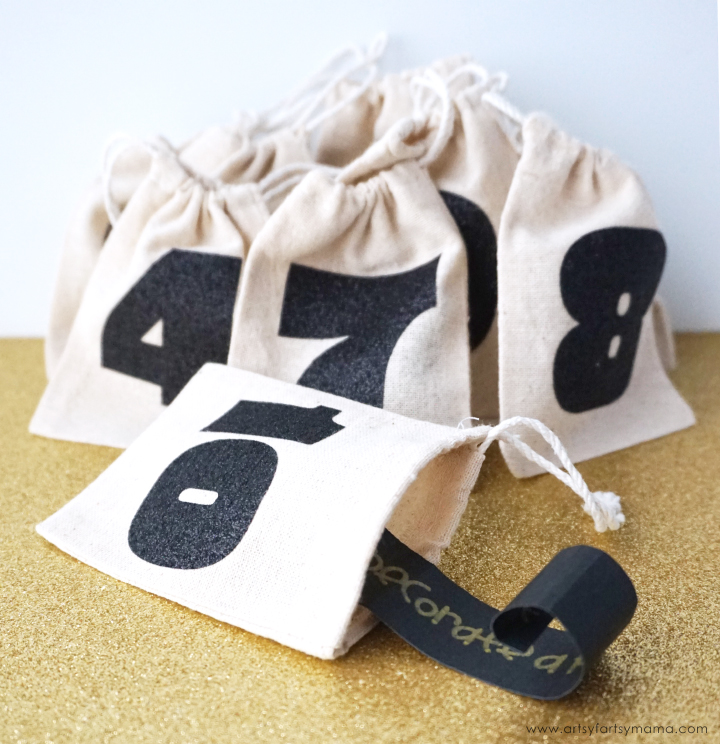
Last, but certainly not least, I assembled some New Year's Countdown Activity Bags. Since we count down from "10" on New Year's Eve, I thought it would be fun to count down 10 activities while we party the night away!
I purchased the muslin bags already made, so all I needed to do was cut out the numbers for each bag. I used Black Glitter Iron-On Vinyl for the numbers, and have already mirrored them in the cut file so you don't have to worry about it! After the numbers have been cut, carefully weed the vinyl.

I love using the Cricut EasyPress with iron-on vinyl. It's so easy to use and heats up quickly! For iron-on vinyl, adjust the settings by pressing the buttons to 270º for 40 seconds. When the EasyPress is ready, the button with the Cricut logo will change from red to green.

Center the vinyl on the muslin bag and lay the EasyPress on top. Press the Cricut logo button to start the timer and hold pressure on the EasyPress. When the timer is up, take the EasyPress off and put it back in the base. Let the bag cool, then remove the plastic liner away from the vinyl.

Repeat for all 10 bags, and voila! The countdown bags are ready to be filled with fun activities and small treats!

Instead of writing on strips of paper myself, I put the Cricut to work to do it for me. I typed up different ideas in rectangle shapes and had the Cricut cut them out of black cardstock and write the text with Gold Metallic Pen.

Next, I used the Quilling Tool from the Paper Crafting Set to easily roll up all of the strips of paper.


New Year's Eve is sure to be a blast, and I can't wait to put these party ideas into action! I'm sure I'll have more ideas coming to you before the big night, so keep an eye out!
Enter to win a Cricut Maker machine using the form below:
How will you ring in the New Year with your family?
This is a sponsored conversation written by me on behalf of Cricut. The opinions and text are all mine.


I LOVE the party hat! The Cricut Maker is just amazing :)
ReplyDeletethe links no longer work :(
ReplyDelete