This post is sponsored by Expressions Vinyl and contains affiliate links. As always, all opinions are my own.
Make some DIY Elf-Inspired Christmas Pajamas (with FREE cut file) for your family to wear this Christmas!

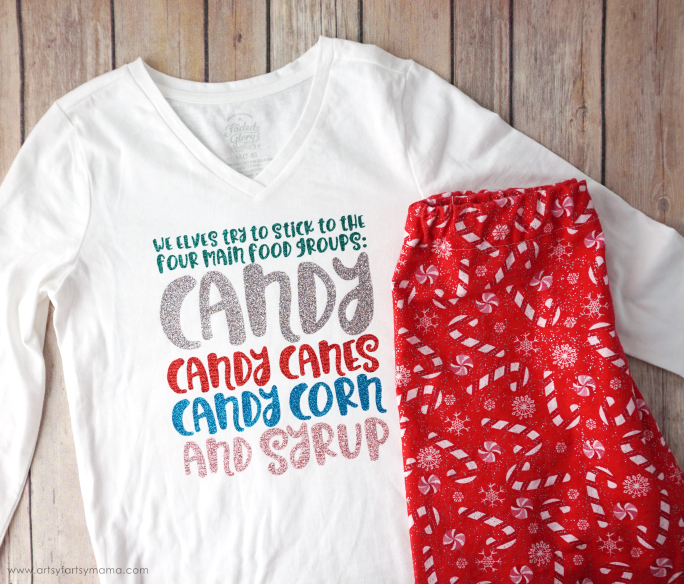
One of of my favorite family Christmas traditions is the pajamas! Ever since my daughter has been little, our Elf on the Shelf has brought her new pajamas and slippers to wear throughout the holiday season. This year our elf decided to get inspired by the movie, Elf, and had me make some simple to make pajama bottoms and a coordinating top with one of our favorite quotes cut out of vinyl from Expressions Vinyl!

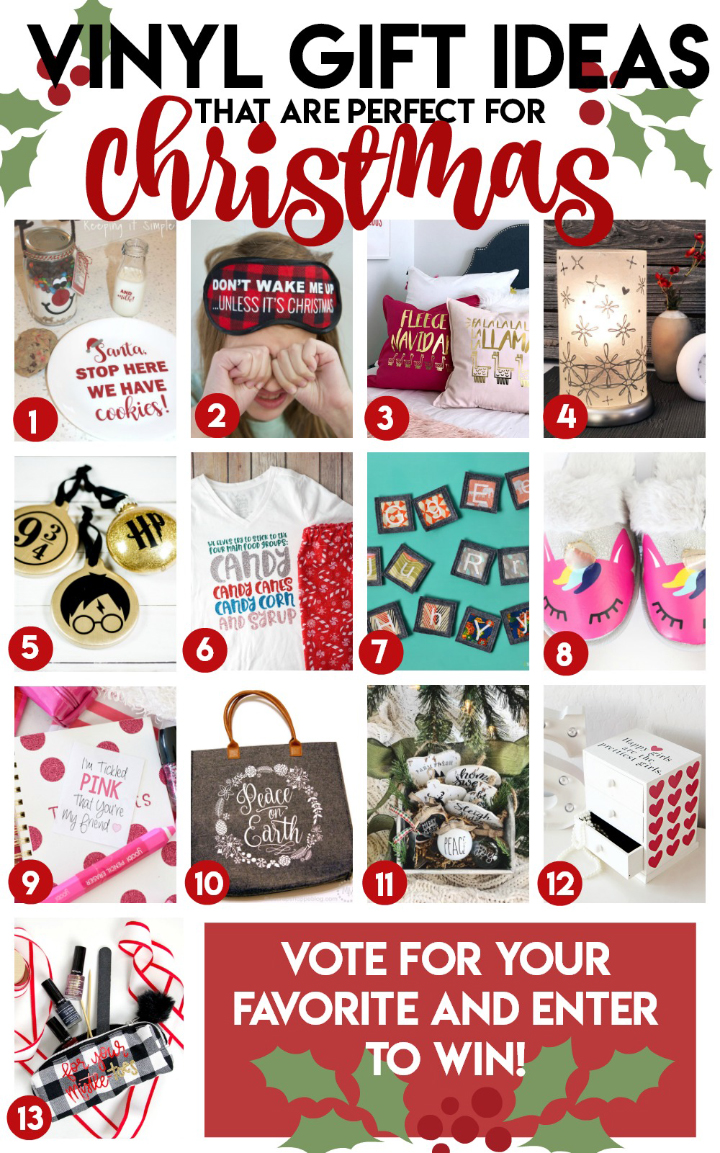
Before we get to the tutorial, you've got to see these other Christmas Gift Ideas Using Vinyl from other talented bloggers! Visit the Expressions Vinyl blog to see all of the projects, enter an amazing giveaway and I'd love for you to VOTE for my project!

Making pajama pants is easier than you'd think. There's no pattern for these pants - all you need are a pair of pajama pants you already own that fit and some fabric. This is great because you can make pants for everyone in the family!
Pajama Pants Supplies:
A pair of lounge pants that fit well
Pajama fabric, such as cotton or flannel
1/2" wide elastic
Thread to match
Sewing machine
Sewing Kit
Turn the pants inside-out and fold them in half so that the legs are aligned and the crotch seam is folded out. Fold the fabric over a few inches wider than the pants. Lay the pants on the fabric with the straight edge of the legs lined up along the fold line on the fabric.
Pull the waist so it is as stretched out as possible if it has elastic or drawstring. Trace a 1/2” seam allowance along the legs on the fabric from hem to waist. The seam allowance needs to be 2” for both the waist and the hem (top/bottom). Cut and repeat for the other leg.


For the waist, fold down the top edge of the waist 1/2” and press. Fold down 1” and press again. Use pins to hold the fabric in place. Sew around the waist, making sure to leave an opening about 3” long to insert the elastic.
Turn the pants inside-out and fold them in half so that the legs are aligned and the crotch seam is folded out. Fold the fabric over a few inches wider than the pants. Lay the pants on the fabric with the straight edge of the legs lined up along the fold line on the fabric.
Pull the waist so it is as stretched out as possible if it has elastic or drawstring. Trace a 1/2” seam allowance along the legs on the fabric from hem to waist. The seam allowance needs to be 2” for both the waist and the hem (top/bottom). Cut and repeat for the other leg.

Line up the fabric right sides together. Pin the sides in place and sew just along the curved line from crotch to waist with a 1/2 seam allowance.

Adjust the pants up so that the seams you just sewed are lined up. Pin the inner leg seam and sew from one ankle to the other with 1/2" seam allowance.

For the waist, fold down the top edge of the waist 1/2” and press. Fold down 1” and press again. Use pins to hold the fabric in place. Sew around the waist, making sure to leave an opening about 3” long to insert the elastic.

Use a safety pin to thread the elastic through the casing. Sew the ends of the elastic together, then sew the opening of the casing closed.

Fold the bottom of the pant legs up 1/2” and press. Fold 1” and press again. Sew all the way around to hem each pant leg.

Ta-da!! Check out these Christmas pajama pants that look like they've come straight from the Candy Cane Forest! The fabric is flannel and covered in glitter, so they are super comfortable and literally leave a little sparkle wherever you go! Perfect for the holiday season, if I do say so myself.

Since our elf is delivering these adorable pajamas, I wanted to make an Elf-inspired shirt to go with the candy cane pajama pants!
Elf-Inspired Shirt Supplies:
Elf Quote Cut File (personal use only)
Long-sleeved white shirt
Glitter HTV - Confetti, Emerald, Red, Rose Gold, Aqua
Cricut EasyPress or iron

Upload the cut file into Cricut Design Space and change the colors of each line to the colors of the vinyl. Place the Glitter HTV shiny side down on the mat and load it into the machine. MAKE SURE YOU MIRROR THE IMAGE BEFORE YOU CUT IT!!
Weed the vinyl by removing all of the parts you don't need. For smaller spaces like inside the letters, weeding tools are a life saver!
Weed the vinyl by removing all of the parts you don't need. For smaller spaces like inside the letters, weeding tools are a life saver!

Work from top to bottom when placing the vinyl on the shirt. Stick the vinyl and liner down in place.

To get heat transfer vinyl to stick, you need heat. The Cricut EasyPress is a cross between an iron and a heat press. What makes this different than the two is that the EasyPress distributes consistent temperature across its 9" x 9" plate. This compact piece of equipment heats up quickly and is easy to use!
Plug the EasyPress in and power it up. Adjust the temperature to 340º and timer settings to 20 seconds using the buttons. When it has completely heated up, the EasyPress will beep and the Cricut logo will change from red to green.
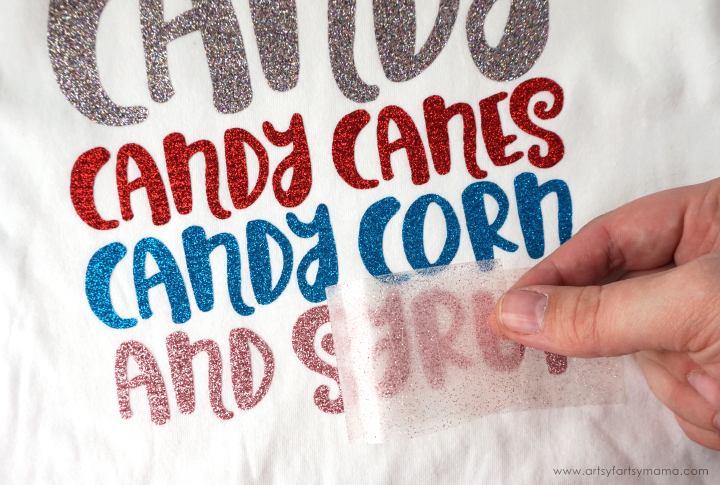
Lift the EasyPress out of its base and set it down over the vinyl. Press the green Cricut button to start the timer, and add pressure while you hold the EasyPress in place. When the timer goes off, move it back to the base. Let the vinyl cool completely before removing the liner.

Use the EasyPress to attach the rest of the vinyl, one line at a time. Make sure to place the liner back onto the other vinyls to protect it from the heat.

Remove the liners and the shirt is ready to go! Glitter HTV is one of my favorite supplies to use because the colors stay brilliant and the glitter sparkles wash after wash. Now that the pajama set is complete, you can wrap them up and have your elf deliver them for the kids can wear!

My little elf got her pajamas early to wear throughout the holiday season. Another great thing about these pajamas? You can make them to fit EVERYONE in the entire family! Matching Christmas pajamas is the best thing ever!!
Don't forget to visit the Expressions Vinyl blog to see all of the projects, enter the amazing giveaway and I'd love for you to VOTE for my project!
What's your favorite Elf quote?
Don't forget to visit the Expressions Vinyl blog to see all of the projects, enter the amazing giveaway and I'd love for you to VOTE for my project!
What's your favorite Elf quote?


