Creating a Half Hexi Quilt is easy when you use the Cricut Maker machine!
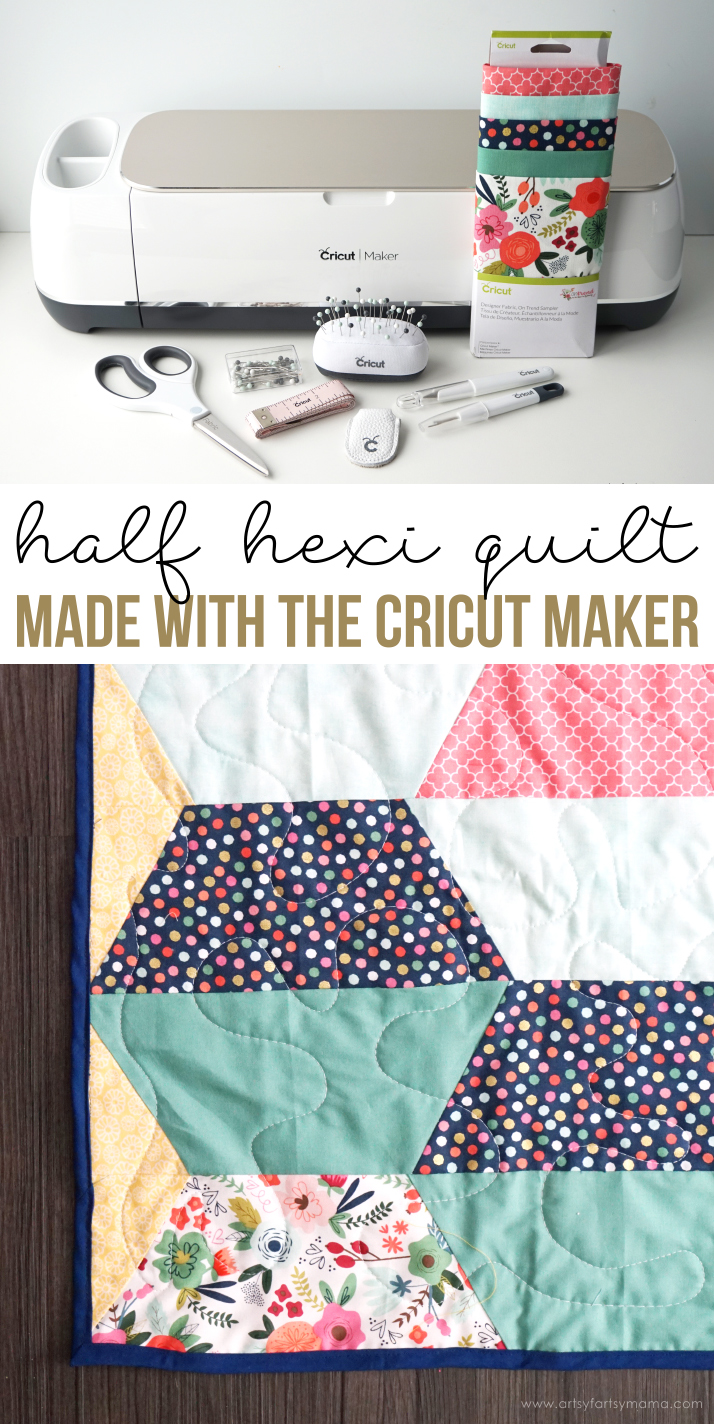
Now that I know more about the Cricut Maker machine works (especially with fabric), I've finally decided to take the leap and make my first quilt!
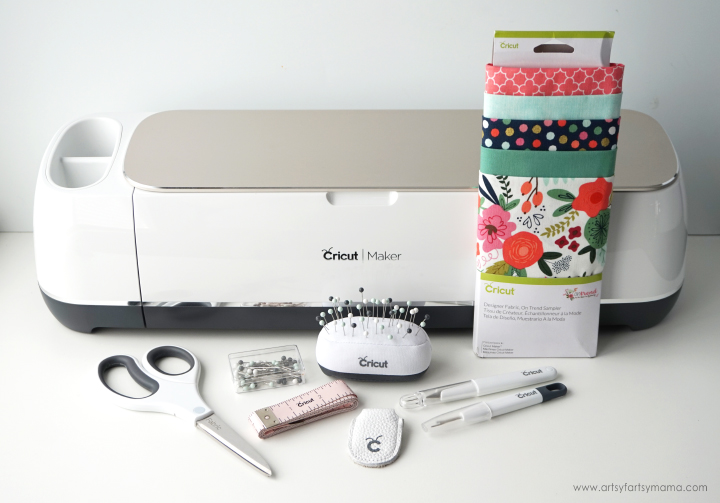
Before you can get started on the quilt, you need to gather your supplies:
• Cricut Maker machine with Rotary Blade
• 12x12 Cricut FabricGrip Mat
• Cricut Sewing Kit
• Brayer (optional)
• Sewing Machine
• Thread
• Double Fold Bias Tape
• Quilt Batting
• Iron or Easy Press
• Yarn or Quilting Machine
Fabric: You'll need 5 different coordinating patterns/colors of cotton fabric. I used the Cricut Designer Fabric, On-Trend Sampler for the front of my quilt.
- 3/4 yard polka dot fabric
- 3/4 yard floral fabric
- 3/4 yard teal fabric
- 3/4 yard green fabric
- 3/4 yard coral quatrefoil fabric
- 1/4 yard coordinating fabric for square edges (optional)
- 1-2 yards fabric for quilt back
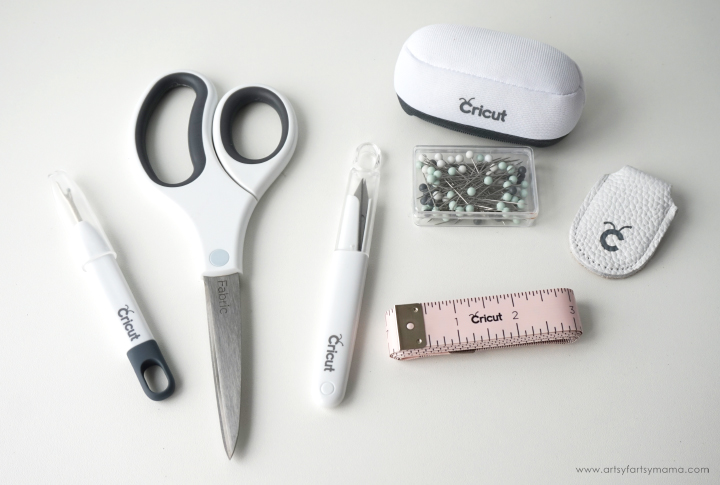
If you sew, it's important to have your own set of designated sewing supplies. The Cricut Sewing Kit includes every essential you need to measure, cut, pin, and stitch all of your sewing and quilting crafts. The all-in-one kit includes 8" Fabric Shears, Thread Snips, Seam Ripper, Measuring Tape, Leather Thimble, Pins and an adorable Pin Cushion that looks like a mini Cricut machine!
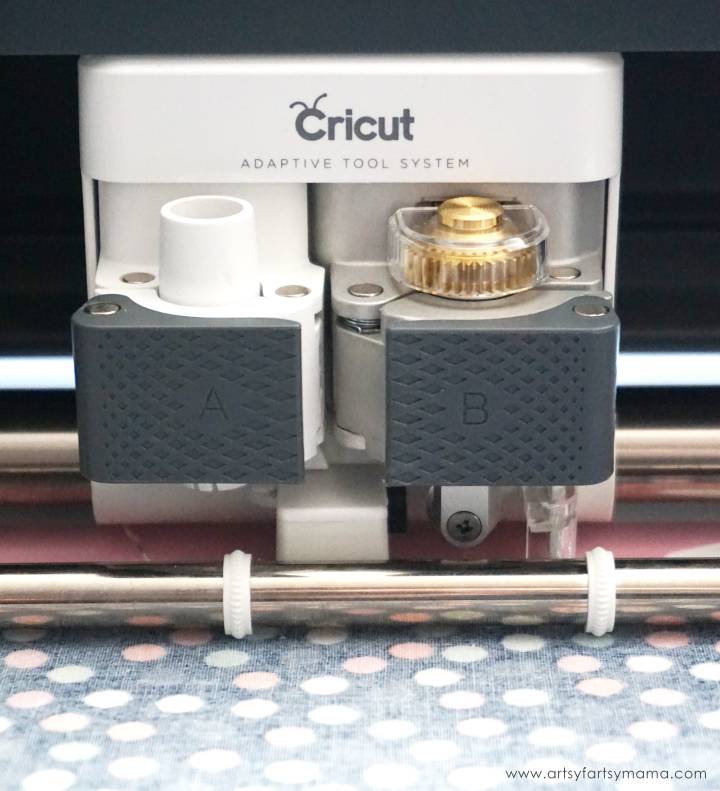
Open up the Half Hexi Quilt project in Design Space. Since it's a sewing project and can get messed up by customizing, you only have the option to "Make It". Luckily, the 27 mat previews have already been organized by color so you know which fabrics to load onto the mat.
Iron your fabric and lay it face-down on the mat. Press it down well with your hands or use a brayer. Make sure you have the Rotary tool loaded in the machine. Select "Fabric: Cotton" as the material, load the mat into the Maker, and press "Go". Repeat until all of the mats have been cut. If you are wanting a zig-zag edge, skip the two mats with the optional edge pieces.
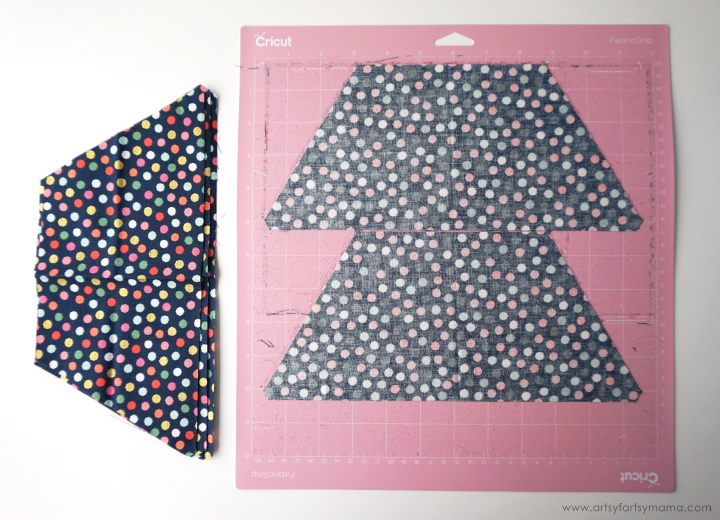
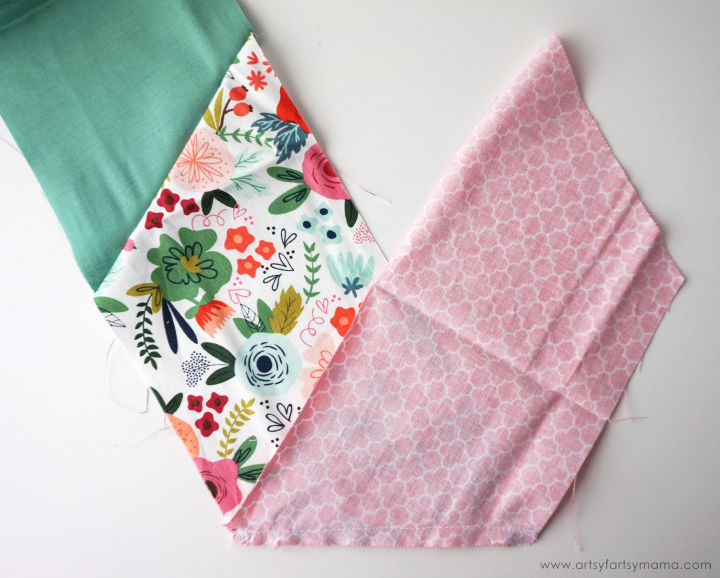
Once the pieces are all cut, lay out the pieces to form your quilt top. You need to make 10 columns to make the quilt, with each column being 5 pieces long. It can be exactly like the example in Design Space, or mix things up and make it your own.
To create each column, stack each of the pieces in order. Start at one end of your column and lay two pieces right sides together with the shorter side together. They will look like a "V". Sew the entire quilt with a 1/4" seam allowance. When you have sewn 5 pieces together, iron the seams down.
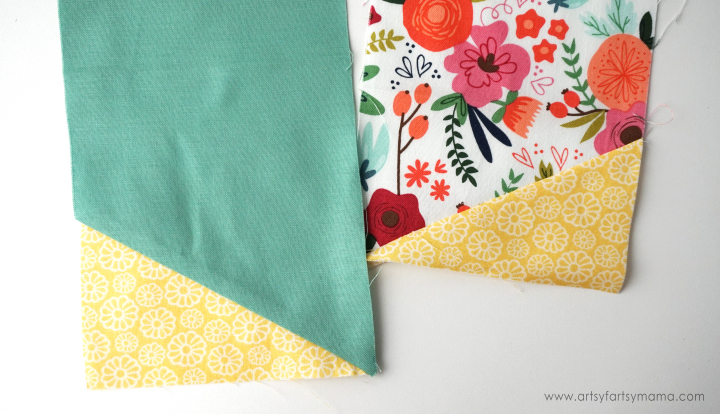
If you want your quilt to have a straight edge instead of the zig-zag, sew the extra pieces onto the top and bottom edges of each column.
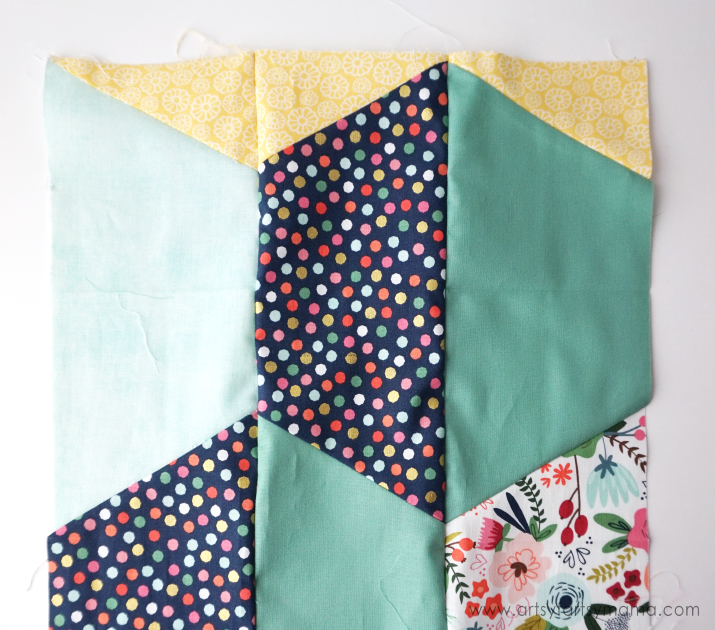
After pressing all 10 columns, lay them out in order. Place two columns right sides together and sew the long side together. Repeat until all of the columns have been sewn together. As a beginner quilter and somewhat of a perfectionist, I was really pleased with how the edges lined up perfectly! You don't get that very often by hand cutting. Any parts of the quilt that didn't seem to line up were only off by a tiny bit and were user error (i.e. not sewing straight...)
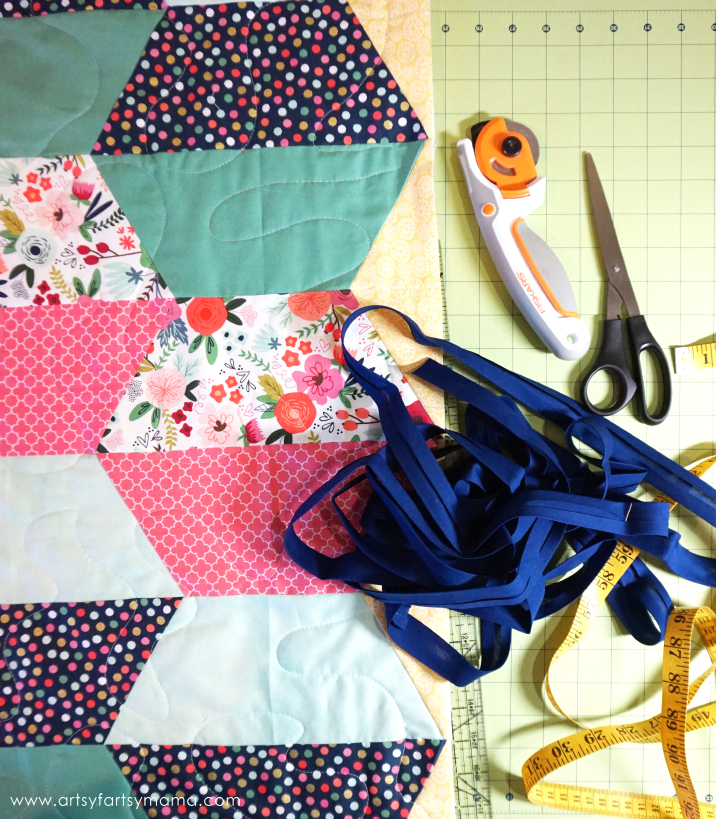
Now that the quilt top if complete, it's time to finish it. My gracious mother-in-law taught me how to use her quilting machine for mine, but you could also use yarn or string to tie yours together. Lay your backing fabric face down on the floor, then add the quilt batting, and then the quilt top facing up. Pin the edges in place, and quilt or tie it. Trim the excess fabric and batting from the edges so that they are nice and clean.
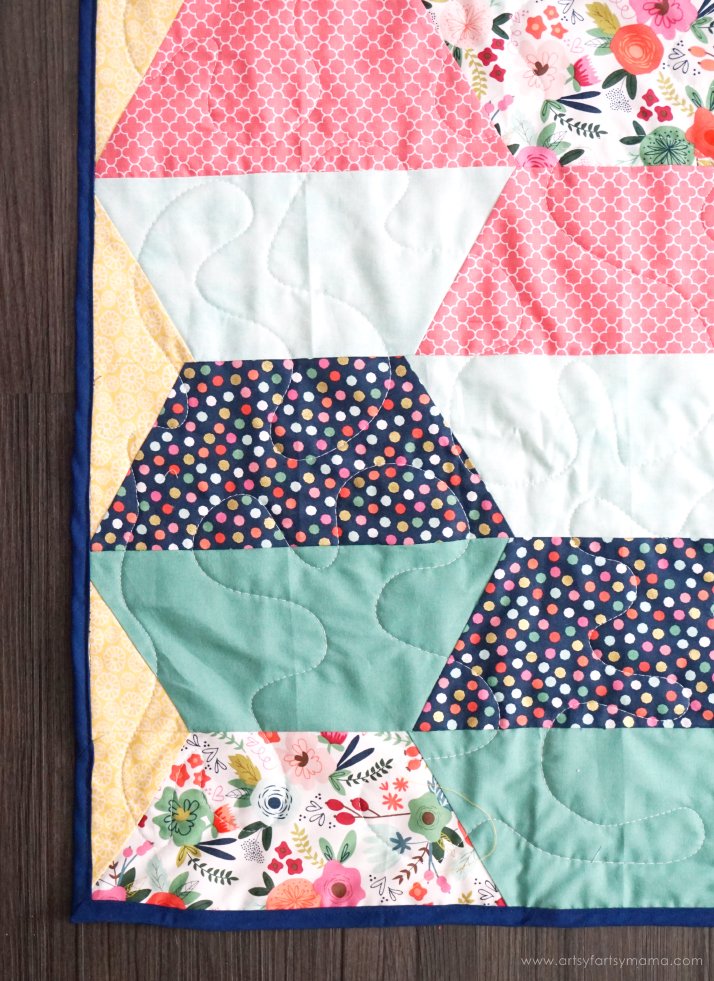
Bind the edge of the quilt with double fold bias tape in a coordinating color. If you have extra backing fabric, you could fold that over to create a binding as well. I kind of cheated at this part and had my mother-in-law help me! So, my best tip is to find a friend who knows a thing or two about quilting and have them help you until you get the hang of it.
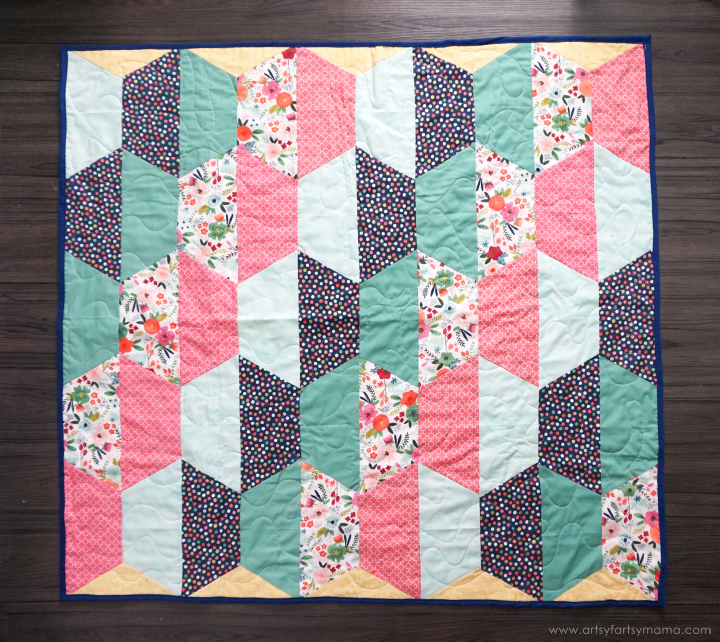
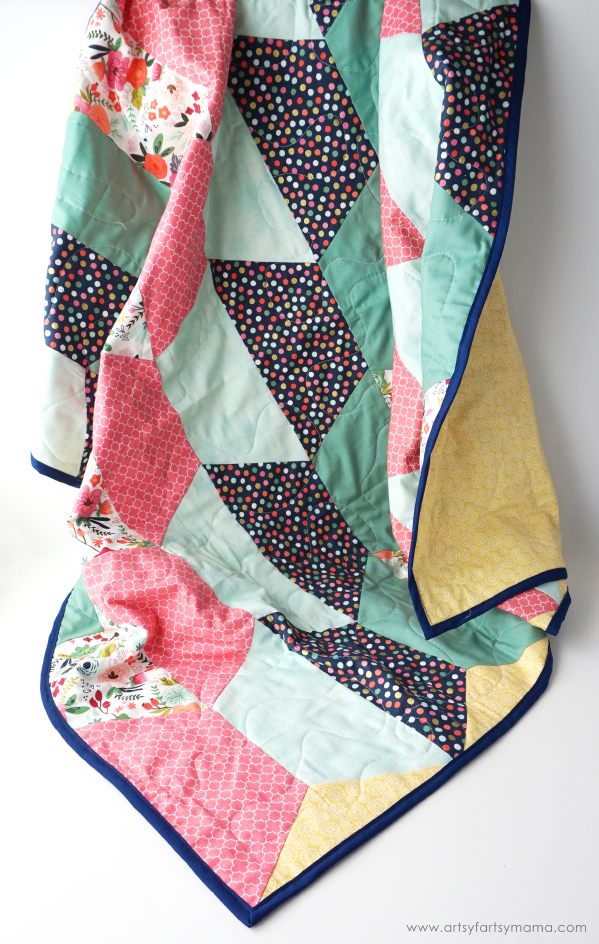
Now that the binding is done, clip any random threads hanging around and the quilt is ready to be snuggled in! The quilt measures about 40" x 45" when completed.
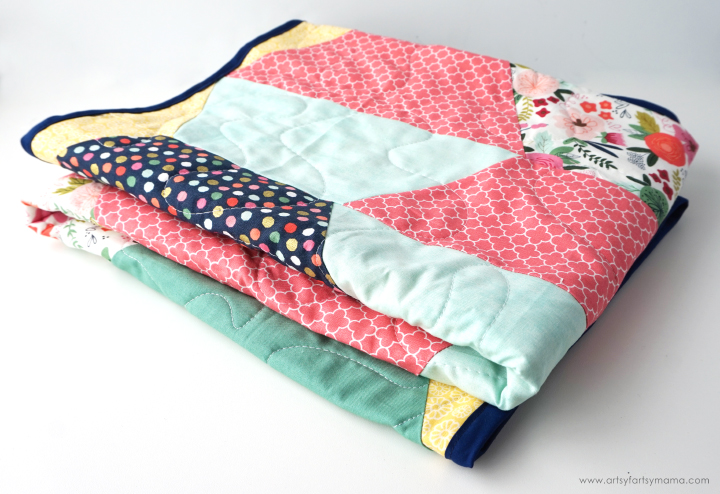
If you have been wanting to learn to quilt, I highly recommend you try it. Especially when this pattern is FREE to use with the Cricut Maker in Design Space! Even though I can easily point out all of the mistakes in this quilt, I am so proud of how it turned out and am already making plans to try another one soon.
This is a sponsored conversation written by me on behalf of Cricut. The opinions and text are all mine.


I just bought the Cricut Maker, mostly because I was told it had all these free patterns to do basic sewing projects. However, every time I pull up this pattern, (even from your link) it says that is costs $9.99 to get the pattern! Is this something that recently changed?
ReplyDelete