Back to school season is one of my favorite times of the year. My daughter lucked out in the teacher department at school this year and has one of the best teachers I could have imagined for her. To give a pre-emptive "thank you", we decided to make her a personalized gift using Expressions Vinyl that she can display in her classroom.
Just for fun, my fellow Expressions Vinyl Ambassadors and I are having a little vinyl competition! I would love, love, love for you to head over to the Expressions Vinyl blog to vote for my project to win yourself a prize at the same time!!

The personalized pencil is a lot of fun to make and I promise that even if you're a beginner, you can definitely do this!! Grab a piece of 2x4 without a lot of knots. Our teacher's name is a longer one, so we cut the board to about 15 inches. If you have a shorter name to work with, I would say you could go to about 10-12. To save some work, you can have an employee at Home Depot or Lowe's cut the board for you!
Next, you need to work on the angle of the point of your pencil. The smaller the angle, the "sharper" your pencil would be. I wanted a more "dull" pencil, so I cut mine to a about 60º. Draw the angle with a pencil FIRST to make sure you get the angle you want before cutting!!
Sand the entire pencil, front and back, until smooth. I also sanded more on the corners and edges to round them out a bit. Wipe down the pencil with a damp cloth and let dry.

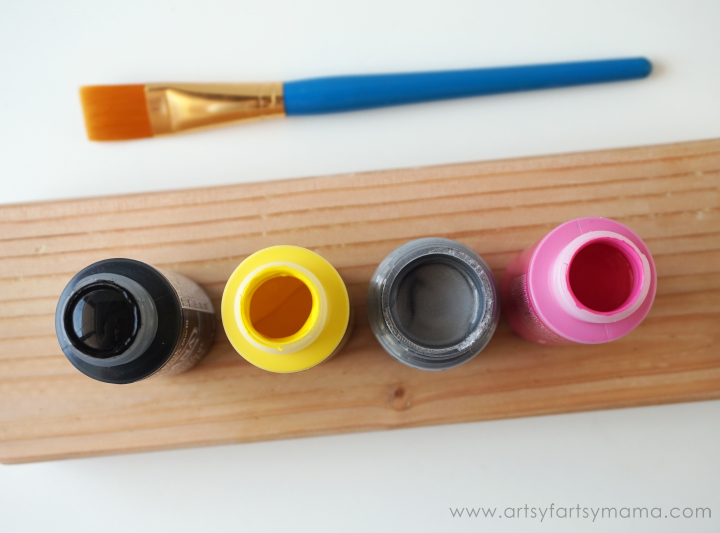
Now for the fun part!! Grab some acrylic paints: I used Americana brand in Lamp (Ebony) Black, Bright Yellow, Metallic Silver and Carousel Pink. I also used a soft 1/2 inch brush to paint the entire project.

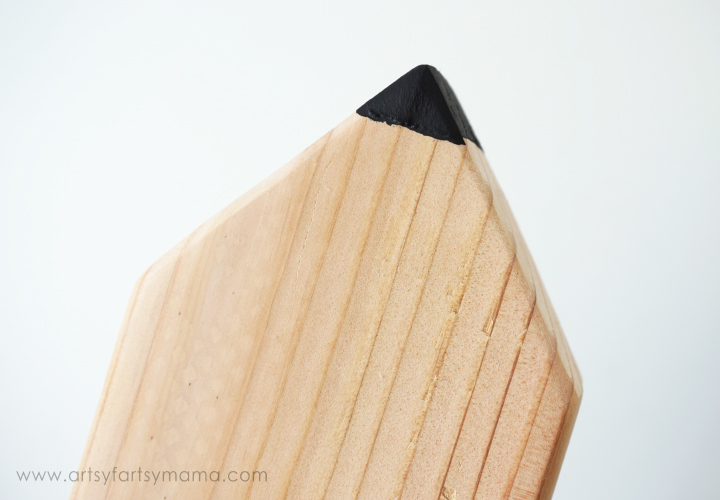
First, paint the "lead" of the pencil with the black paint. I painted all the way around the pencil, and ended up painting 2-3 coats, letting each coat dry completely before adding another one.

Next, I painted the yellow. I painted the edge near the lead straight across, but you can totally paint a more jagged edge if you want. That probably looks a little more realistic than mine, plus that would really help hide any imperfections! With the yellow being a lighter color, plan to paint at least 3 coats to cover up the wood grain. I left a good 4-5 inches unpainted at the "eraser" end of the pencil.

Grab the pink paint and add an eraser to the end of the pencil. You can make this as long or as short as you want. Mine was probably about 3-3½ inches. I painted 2-3 coats of paint and left about an inch gap between the pink and yellow paints.

Make sure the paints are completely dry and wrap a straight line of painters tape around the edge of the yellow and around the edge of the pink paints. Shake the metallic silver paint really well, then paint in between the lines of the painters tape. Since I was painting over some of the messy edges of yellow and pink paints, I ended up painting about 3 coats of silver paint to make everything look even.
While the paint is still wet, remove the tape and let the pencil dry. I painted all the way around the pencil, so I just balanced the wood on top of two or three paint containers and let it dry up high so that I didn't ruin any of the paint.
While the paint is still wet, remove the tape and let the pencil dry. I painted all the way around the pencil, so I just balanced the wood on top of two or three paint containers and let it dry up high so that I didn't ruin any of the paint.

Let the metallic paint dry completely. Then, use some clear polyurethane spray paint and paint a few coats on the pencil to seal the raw wood and protect the paint from getting scratched off. Be sure to let each coat of spray paint dry completely between coats to prevent any problems.

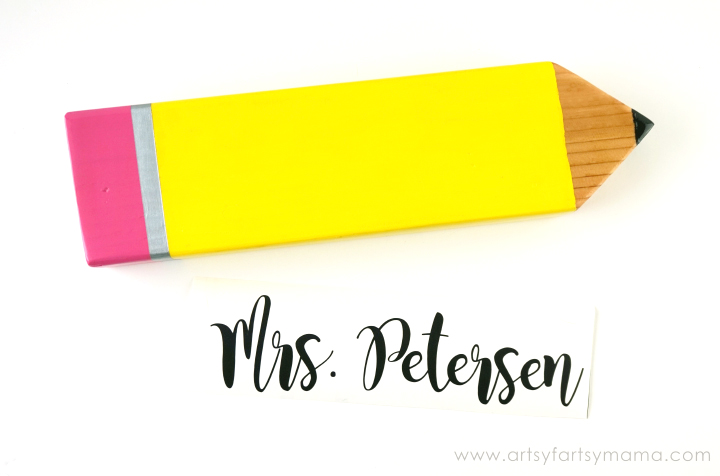
While the top coat is drying, you can work on cutting out your vinyl! I measured how much yellow space I had available and measured my wording to fit in Cricut Design Space (the font I used is Magnolia Sky) and cut it out of Expressions Vinyl Permanent Vinyl in Jet Black with my Cricut Explore machine.

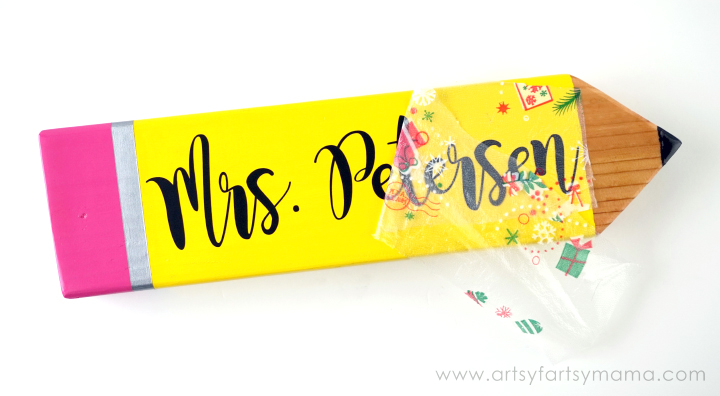
To apply the vinyl, I used my handy (and money-saving) vinyl transfer hack! Since I used a permanent vinyl, it will stick a bit better than regular vinyl when our teacher needs to pack her things around.

I hope Mrs. Petersen knows how excited we are to have her as a teacher this year. This was a lot of fun to make for her and I would love to hear if you make one for yourself or for your favorite teachers!
Just as a reminder: if you liked this project, please head over to the Expressions Vinyl blog and vote for my project to enter the awesome giveaway to win yourself a prize!!


That's one lucky teacher! Just voted, too :)
ReplyDeleteThat's one lucky teacher! Just voted, too :)
ReplyDeleteI put the vinyl on before I sprayed the sealer. Will it cause problems?
ReplyDeleteThis comment has been removed by the author.
ReplyDeleteBeautiful! Where can I find the font (Magnolia Sky)?
ReplyDeleteBeautiful! Where can I find the font (Magnolia Sky)?
ReplyDeleteHi Array of Sunchyne! I got the font from Creative Market (https://bit.ly/3eUrEec).
Delete