Create a 4th of July tank top with vinyl and lyrics from Katy Perry's "Firework"!

Ever since my daughter first heard Katy Perry's song, Firework, it has been one of her favorite songs and sings it non-stop. With the 4th of July on the way, I decided to combine her love of that song with red, white and blue vinyl from Expressions Vinyl and came up with this 4th of July Firework Tank Top!
I've teamed up with 14 other bloggers to create 15 awesome red, white and blue projects using vinyl. Check out these patriotic tutorials for 4th of July inspiration:
- Patriotic Shirt by Pitter and Glink
- Treat Boxes from a Kailo Chic Life
- Wall Art from Sweet Rose Studio
- Easy DIY Shirt from A Crafted Sparrow
- Star Vinyl Sign from Crafting in the Rain
- America Pillow from Kiki & Company
- Land that I Love from 733 Blog
- 4th of July S'mores Kit from A Pumpkin and a Princess
- Firework Tank from Artsy-Fartsy Mama
- Festive Popsicle Bucket from Doodlecraft
- Polka Dot Mason Jar from MM Scrap Shoppe
- Little Sparkler Shirt from Made to be a Momma
- Star Confetti Balloons from Sugar Bee Crafts
- Embroidery Hoop America from A Girl and a Glue Gun
- Suspender Onesie from Silhouette School
Without further ado, here's how to make a 4th of July Firework Tank Top:

First, you need a blank shirt. You really can't beat $3 tanks at Walmart for projects like this! If you don't want to buy a new shirt, you can certainly use one you already have. Heat transfer vinyl is a great way to cover up stains!!

When cutting iron-on vinyl with your Cricut machine, be sure to keep these tips in mind:
- Mirror your image before cutting. The vinyl will be placed with the clear carrier sheet/liner side down. So if you don't mirror your image before cutting, it will be backwards after it's cut.
- HTV, or iron-on vinyl, can be cut using the Iron-On setting on the dial.

For this tank, I used EasyWeed Heat Transfer Vinyl in royal blue and red. Like the name implies, it really is easy to weed the vinyl. For smaller areas (like inside letters), I highly recommend using a weeder/hook tool. It is a lifesaver!

- Set your iron to the cotton/linen setting with the steam OFF.
- Lightly preheat the area with the iron for 10-15 seconds. This really does help!
- Place your image, liner side UP onto the area. If you don't place the liner side up, the vinyl will stick to your press cloth or iron. No one has time for that!
- Carefully lay a scrap piece of fabric over the design, OR you can iron directly on the carrier sheet.
- Apply medium pressure with the iron for 25-30 seconds. If you are ironing directly on the carrier sheet, iron for about 15 seconds.
- Flip the shirt over and apply medium pressure with the iron to the back for an additional 25-30 seconds.
- If you have any parts that didn't stick for some reason or if edges are flipping up, re-iron the pieces or loose edges for 10 seconds.
- Let cool slightly and remove the liner. If you try to remove the liner before it cools, you risk burning your fingers or peeling the vinyl up.

Next, place the "Baby you're a" layer over the "Firework" layer. Follow the same steps for ironing the previous layer, but this time you HAVE to use a piece of scrap fabric or something similar to protect the "Firework" layer. If the iron touches vinyl without a carrier sheet, it will just melt to your iron and ruin your project.

Peel off the liner and your shirt is ready to wear! If you haven't worked with iron-on vinyl before, it's really simple to use and is a lot of fun to create custom projects. It also washes really well, which is important when it comes to kids clothes!
If you want some cute 4th of July accessories to go with your outfit, this Patriotic Bubblegum Jewelry is easy and fun to make!

My daughter is so excited to wear her new 4th of July ensemble in just a few weeks! She loves how the shirt turned out, and I'm glad that she can wear it even after the holiday since she's always singing those lyrics anyway!
Looking for more 4th of July inspiration?
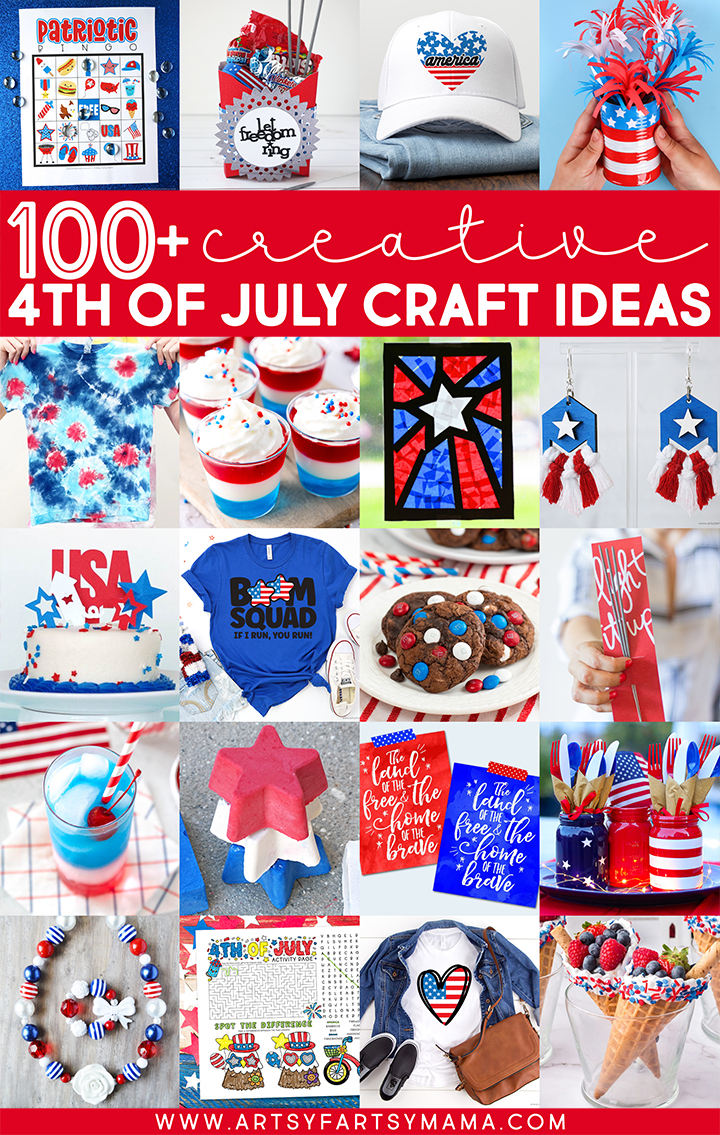
Check out this collection of OVER 100 creative 4th of July crafts and recipes!!

Don't forget to Pin, Like, and Share!


How cute is this?! I will definitely be making one of these this year!
ReplyDelete