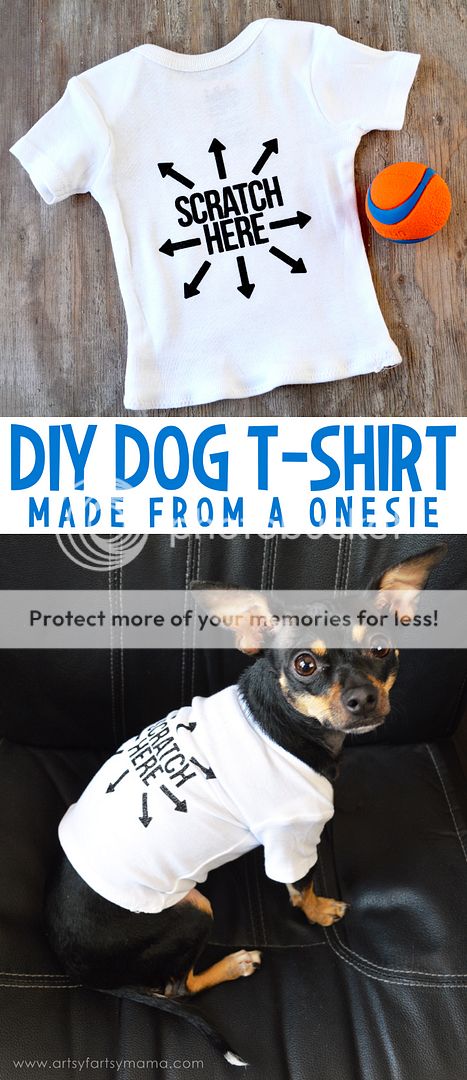
Dressing your pet doesn't have to be expensive. Make your dog or cat a custom t-shirt from a basic onesie and vinyl!

I'm a sucker for clothes on animals. I think it's both adorable and hilarious. However, it does get surprisingly expensive to dress your pets!! My dog, Lulu, often wears a vest to wear on walks and owns a few shirts from the Target dollar spot for holidays. After trying a onesie on her just for fun, a lightbulb went off. With some onesies and Expressions Vinyl, I can now make Lulu her own little wardrobe without spending a lot of money...

I found that a newborn onesie fits my 7-8 pound Chihuahua Pinscher perfectly. You'll probably need to do some measuring and test out different sizes to determine what will fit your dog (or cat!). You can purchase new onesies, or check out the thrift store and save some money to make a shirt for your pet!

Fold the onesie in half lengthwise. Cut straight across the onesie above the leg seams (yellow dotted line in the image above) to create a straight-edged shirt. If you'd like the shirt to go a little farther up on the belly (which could be a better option for male dogs), make a cut similar to the red dotted line.

Fold the cut edge over about 1/4", then fold over another 1/4" and pin in place. Sew a zigzag stitch all the way around to hem the shirt. Now it's ready to be customized!!

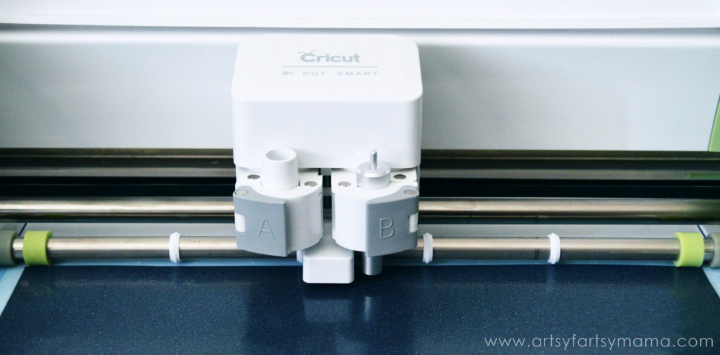
Here's some tips for cutting heat transfer vinyl with a Cricut Explore:
- Mirror your image before cutting! The vinyl will be placed with the clear carrier sheet down, so if you don't mirror your image the design will be backwards after it's cut.
- To cut Glitter Heat Transfer Vinyl, switch the dial to Custom and select Iron-On, Glitter from the drop-down menu.

After the vinyl has been cut, you'll need to "weed" the vinyl. Start by carefully peeling away excess vinyl, or the largest parts of the design that you won't be using, with your fingers. For smaller areas like the insides of letters A & R, you'll need to use the weeder tool.

Now the design is ready to be placed on the shirt! The heat transfer vinyl has a tacky liner on top of it so that you can place the vinyl on your project and keep it in place. Center the vinyl on the shirt and iron it on.
- Set your iron to the cotton/linen setting with the steam OFF.
- Lightly preheat the area with the iron for 10-15 seconds. This really does help!
- Place your image, liner side UP onto the area. (If you don't place the liner side up, it will stick to your press cloth.)
- Carefully lay a press cloth over the design.
- Apply medium pressure with the iron for 25-30 seconds.
- Flip the shirt over and apply medium pressure with the iron to the back for an additional 25-30 seconds.
- If you have any vinyl that didn't stick or if edges are flipping up, re-iron the pieces or loose edges with the iron tip for 10 seconds.
- Let cool and remove liner. If you try to remove the liner before it cools, you risk burning your fingers or peeling the vinyl up.

What would you put on a shirt for your pet?


So happy to have literally "stumbled upon" this one.
ReplyDeleteI knew that infant tees could work for cats, and now I know exactly what to do. One of our cats calms down for bedtime when he's wearing a sweater, but that's too hot for summer. Now John Milton will get a t-shirt wardrobe!
Thanks for posting!
Oh My Gosh the cuteness....is just to much! I didn't even think of using a onezie!
ReplyDeleteDoes the onesie actually end up going on backwards?
ReplyDelete