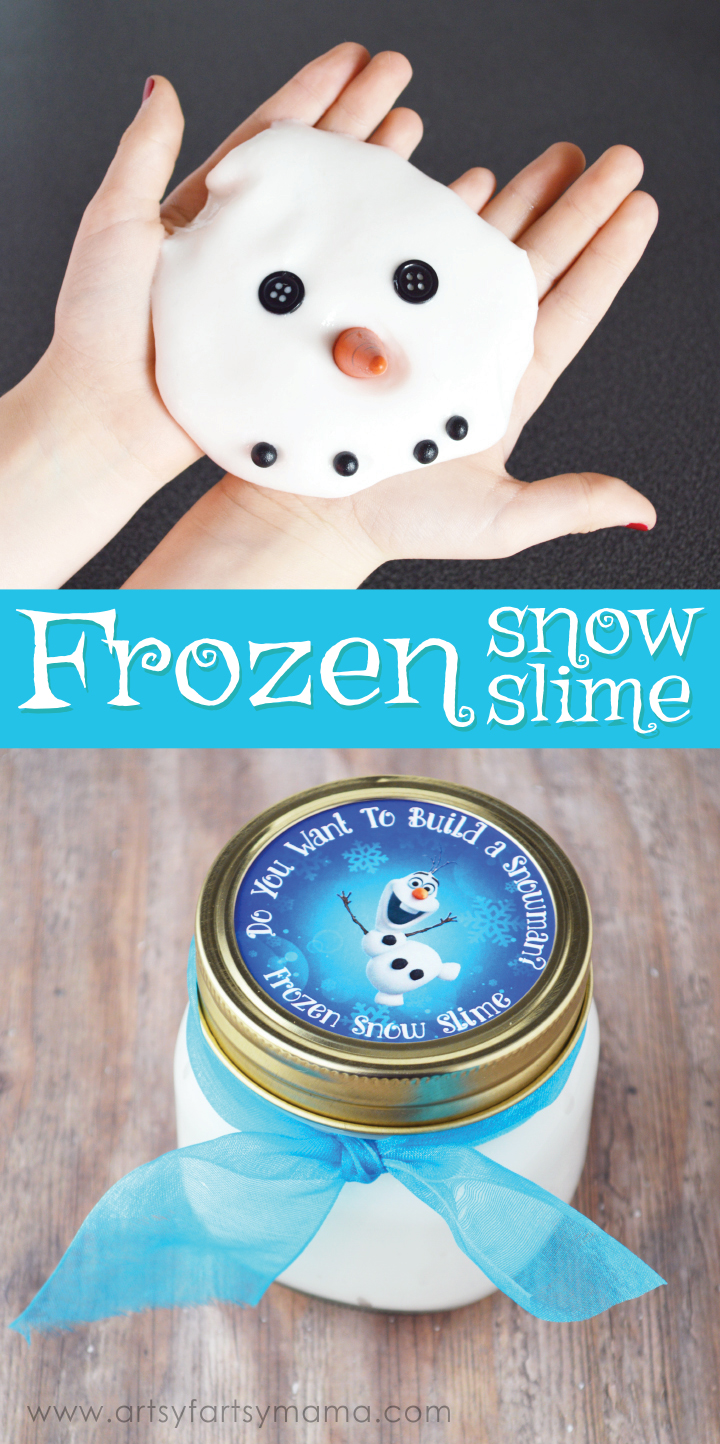
Winter is upon us, which means my daughter will most likely be pretending to be a real live Elsa here pretty soon... For those of you who don't get snow or are looking for a much warmer option than playing out in the cold, we've been working on creating some Frozen Snow Slime for you!

What you'll need to make Frozen Snow Slime:
- Elmer's School Glue
- White Glitter
- Small Black Buttons
- Snowman Accessories (I found mine at Hobby Lobby)
- 8 oz Mason Jars
- Printable Labels (download available at the end of post)

Frozen Snow Slime Recipe
4 4oz white glue
1 1/2 cup hot water (or use 3 glue bottles)
Glitter
Empty the glue bottles into a large mixing bowl. Fill three of the empty glue containers with hot water, then place the lid on and shake vigorously. Pour the water into the bowl. This way, you can get any excess glue out of the bottles! Stir the mixture until the water and glue are combined. You can also add glitter to your mixture if you'd like a sparkly snow!
1 1/3 cup hot water
3/4 teaspoon Borax
In a small bowl or glass measuring cup, add the hot water then the Borax. Mix together until the Borax has completely dissolved.

Now, for the fun part!! Slowly pour the Borax mixture into the large bowl with the glue. Stir the mixture until it starts to thicken. Now, dig your hands in and knead, stir, and squish until the water is absorbed and you have the perfect slime.

The slime is fun to squish your hands in, rip apart, mold and watch it melt. Adding things like buttons, plastic confetti, and more into frozen snow slime just makes it more entertaining! For a little more snow-like feel, place the slime in the refrigerator for about 10 minutes.

Another reason we call this "Frozen" Snow Slime is because it's the perfect way to play with Frozen figures! Elsa can create the snow for everyone, and kids can reenact their favorite scenes or create their own stories with their favorite Frozen characters!! The figures we found are plastic and washable, so they are a super fun accessory to the snow slime!

My daughter has spent all afternoon building snowmen using buttons, beads, and a little wooden carrot nose. It was so fun watching her build snowmen in every shape and size, with all kinds of faces. Their imagination is really the limit!


Some things you should know before downloading:
*Artsy-Fartsy Mama printables are for PERSONAL USE ONLY.
*You may NOT modify, re-sell, redistribute, or claim the design as your own.
*Please do not remove the credits/watermarks.
*If you share this on the internet, credit must be given to Artsy-Fartsy Mama & linked back to this post.
Have fun! I'd love to hear if you make these with the kids in your life. Leave a comment here or send me a picture of your project via email or tag me on Instagram (@artsyfartsymama)!!
Don't forget to Pin, Like, and Share!


I love this!!! How fun!! Thanks for the awesome idea :)
ReplyDeletei used the amount of water that this calls for and there is water that didnt get absorbed. is there suppose to be extra water?
ReplyDeleteI wonder what quantities I'd need to make this for a Kindergarten class of 18?
ReplyDelete