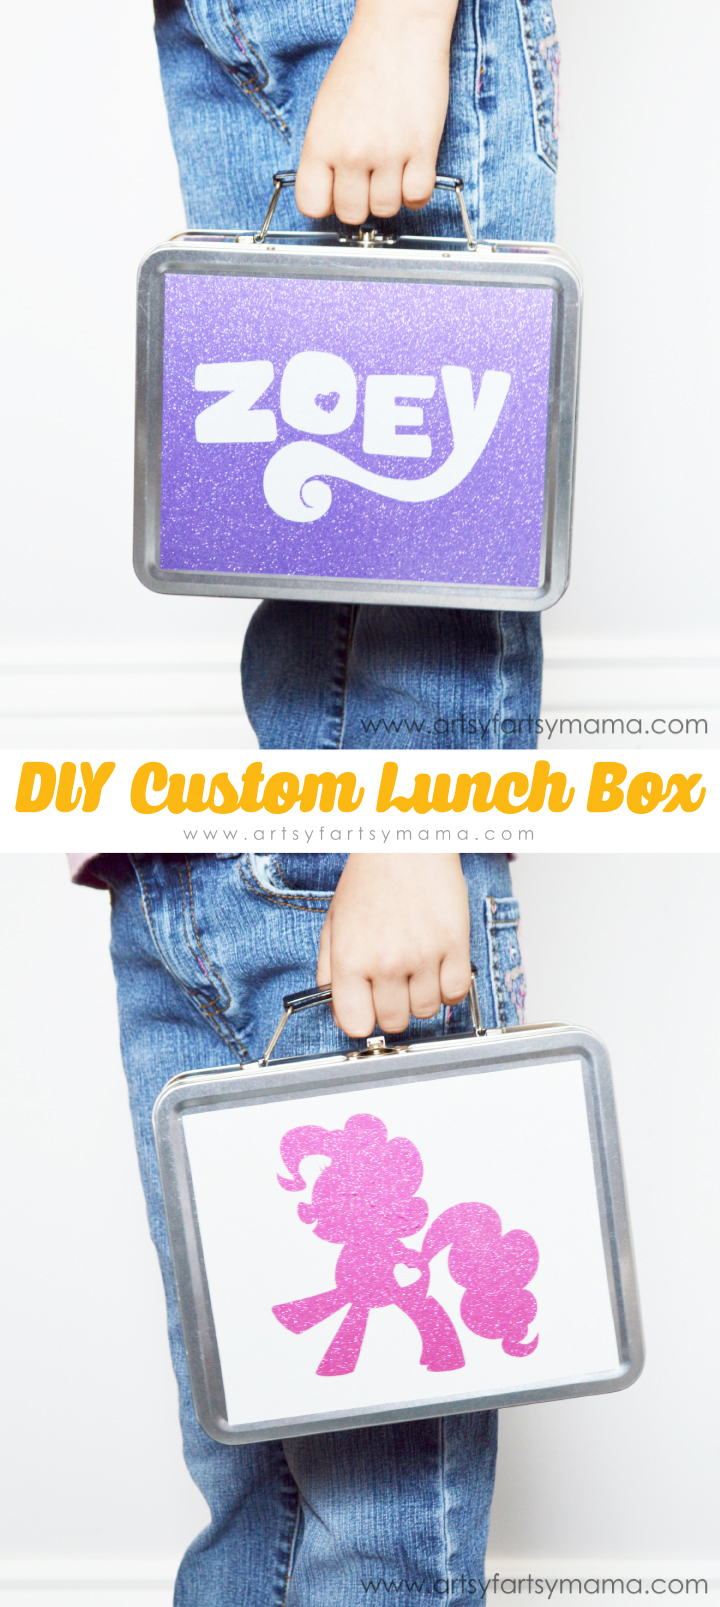
This year is my daughter's first year of school and she's so excited! When we were making a list of supplies she'd need for school, she was adamant that she needed have her very own lunch box with her name on it. No problem, kid! With a little help from my handy Cricut and some fun colored vinyl from Expressions Vinyl, I knew we could whip up a custom lunch box in no time (and you can, too!)!

First, we needed a lunch box to work with. I personally love this metal lunch box, because it's tough enough to withstand a kid! Even better - it's completely blank so you can easily customize it!

As far as vinyl goes, Expressions Vinyl carries TONS of adhesive vinyl options in multiple colors. My daughter and I spent a long time deciding, but finally came down to choosing (my personal favorite) glitter vinyl in melon/pink, white, and purple. The glitter effect is pretty much perfect, and you don't have to worry about making a mess with this stuff. The quality is fantastic, and the colors are always bright and vibrant.

After uploading my designs into Design Space, I was ready to cut. The Cricut is pretty genius with the settings knob on the machine to help you save time and vinyl mistakes. Since glitter vinyl is usually a little thicker than traditional vinyl, I usually place the setting at the dot just after "Vinyl" OR change it to the "Custom" setting and just choose "glitter vinyl" from the menu.

Once you've got your vinyl placed on the mats and the settings where you need them, simply press "GO!" and watch the magic happen. The vinyl was cut perfectly and done in just a few minutes. I really do love my Explore machine oh so much, and it has saved me time and money on so many projects!! If you're shopping for a new machine, I highly recommend the Cricut.

Before adding the vinyl, clean the lunch box with a soft rag or paper towel and alcohol to remove any debris or smudges. Normally you would weed out the vinyl and then apply it to your project with transfer paper. Instead, peel the vinyl from the backing and placed it on the lunch box like a sticker for the front, back, and sides. For the sides, I cut one long pink glitter piece about 1.5" x 22" and wrapped it around the entire side of the lunch box for some extra color. The front and back pieces (purple/white) measured about 6.75" x 5.25" and I centered them on each side.
My best tip is to work slow, and use a scraper tool as you go to work out any air bubbles.

To apply the name and the Pinkie Pie design (found at DoodleCraft), weed out the vinyl and apply with transfer paper or use my money-saving vinyl transfer Glad Press'n Seal Hack!!

Peel the transfer paper or Glad Press'n Seal off, and your new custom lunch box is ready to use! My daughter can't wait to show it off at school this week and it fits her personality perfectly! When creating with vinyl, the only limits are your imagination.
Don't forget to Pin, Like, and Share!


Wow! How neat! I want one of these and I'm 32. Lol!
ReplyDeleteTrish - tales from trish
Pinned and tweeted! So awesome!
ReplyDeleteHow adorable! I love how they turned out. This would be perfect for my niece. She just started 1st grade. I've never tried this before, but would love to. I'll have to check it out for more projects I could do with my nieces.
ReplyDeleteSo cute! I love it.
ReplyDeleteWhat a fun idea! Your daughter is going to be the cool kid at the lunch table for sure!
ReplyDeleteThis is so fun! I may do this for a few of my craft supplies to keep them organized. It would be so much easier to be able to tote them around this way!
ReplyDeleteThis turned out so stinking cute!! I love it! I bet Zoey was so proud to use it. Luci would LOVE this!
ReplyDeleteSo cool! My girls would have so much fun creating a custom lunch box!
ReplyDelete