Pair a handmade Mini Christmas Stocking with holiday storybooks for a SWEET gift this Christmas!

Holiday storybooks make perfect stocking stuffers. They typically show up at our house from Santa on Christmas Eve, but we're excited to be stuffing some Mini Christmas Stockings for teachers, friends, and Secret Santa gifts this year as well!


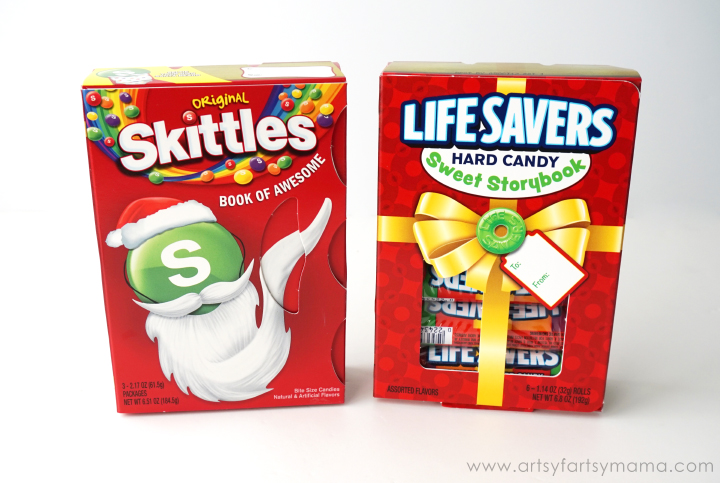
Each of the books contain a different type of candy and unique game or activity. The Life Savers® Sweet Storybook includes a refreshed look and a new story this year. Open up the Skittles® Book of Awesome to take a selfie with a #SkittlesBeard and share with friends!

The Starburst® Sweet Selfie Book has a holiday selfie frame inside for you to send holiday greetings and a #SweetSelfie to friends and family! Life Savers Gummies® Sweet Game Book and Crafts includes trivia, a word find, maze and gingerbread house craft that's fun for kids of every age.


I love making handmade gifts, and this stocking is really simple to make - I promise!! Now go pick out some fun Christmas fabric and let's get started!!
What you'll need to make a mini stocking:
• 1/4 yard of outer stocking fabric
• 1/4 yard of inner stocking fabric
• fabric scissors
• pins
• sewing machine
Step 1: Print and cut out the printable mini stocking pattern.
Step 2: Fold your fabrics wrong sides together and cut out two stocking shapes at once. In total, you should have four stocking shapes total - two of the outside fabric, and two of the inside fabric.

Step 3: Take one piece of the inside fabric and a piece of the outside fabric and line them up, right sides together. The toe and top should be aligned. Sew a straight seam along the top edges of the stocking and a 1/4" seam allowance. Repeat on the other set of fabric pieces.
Step 4: Lay the stocking pieces out flat, then lay one piece on top of the other one, right sides together. Start sewing on the inside fabric about an inch away from the seam and sew all the way around the stocking with a 1/4" seam allowance. Stop when you're about 3 inches away from where you started (should be right above the heel on the inside fabric) to leave an opening.

Step 5: Make small cuts around the toes and heels of the stocking, being careful not to cut through the seam. This will help the curves look smooth and beautiful!
Step 6: Flip the stocking right side out and press out the seams. Fold the opening edges in and topstitch it closed.

Step 7: Stand the stocking up and press the inside fabric into the other half of the stocking. Press it flat with an iron.

Step 8: Fold the top part of the stocking over a couple of inches to show off that adorable inside fabric! To keep the top folded over, you can topstitch around the edge of the fold. Now the stocking is complete. Once you get the hang of it, you can whip up these mini stockings in less than 10 minutes!!

No matter if the gift is for a teacher or as part of a Secret Santa exchange, you will need to add the recipient's name on their mini stocking! I've designed some printable tags for you to attach to your gift. Print the tags on cardstock and then cut them out with scissors or a 3 inch circle punch.

Once they've been cut/punched you can punch a smaller hole into the top and attach the tag with ribbon, or you can stick it to the gift with some tape.
Download Free Printable Christmas Gift Tags
Some things you should know before downloading:
*Artsy-Fartsy Mama printables are for PERSONAL USE ONLY.
*You may NOT modify, re-sell, or claim the design as your own.
*If you'd like to share this project, credit MUST be given and linked back to this post.

I am so excited with how this stocking turned out and can't wait to make some more for all our friends and family this holiday!!
Who would you give a Wrigley Storybook to?


I remember these from when I was a kid (eons ago!).
ReplyDeleteLove these! Such a fun watercolor print. #client
ReplyDelete